Connecting to Reach RS/RS+
ReachView 3 allows to control Reach RS/RS+ receivers with iOS or Android devices. Using the app, you can access your receiver over Wi-Fi network, set it up for the survey and collect and stake out points.
In this guide, you will find information on how to connect to Reach RS/RS+ using the ReachView 3 app.
note
The connection process for both iOS and Android devices is similar.
Video guide#
The video below covers the process of connection to Reach RS/RS+ using ReachView 3.
Text guide#
Setting up Wi-Fi connection#
Establish the Wi-Fi connection between your Reach unit and your device.
Power up the unit and wait until it is loaded
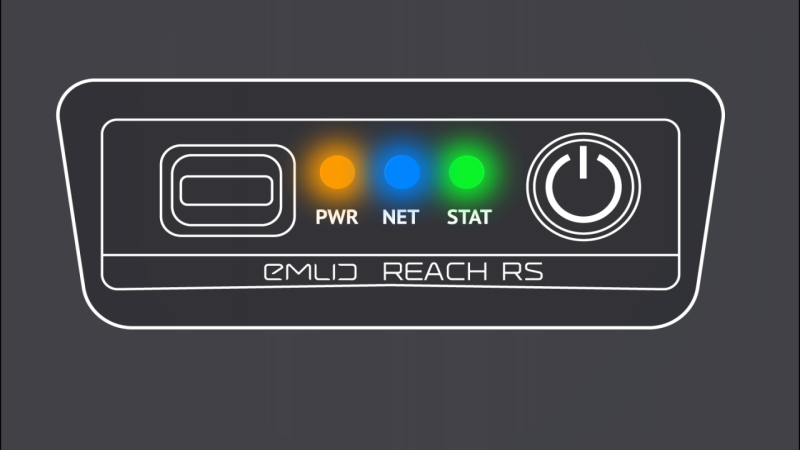
Look at the Wi-Fi LED of the receiver to check the mode:
When Reach is in hotspot mode, it shares its own network. In this case, perform the following steps:
- Open Wi-Fi settings of your device and turn on Wi-Fi
- Find a network with the name reach:XX:XX
- Type the password emlidreach to connect to this network
- Wait until it shows that you are successfully connected to the network

When Reach is in client mode, it is connected to the external Wi-Fi network. In this case, perform the following steps:
- Open Wi-Fi settings of your device
- Connect it to the same Wi-Fi network
- Wait until it shows that you are successfully connected to the network
Connecting to Reach RS/RS+ using ReachView 3#
When the Wi-FI connection is established, you can connect to your unit using ReachView 3.
- Open the app
- Choose your unit from the list of available devices
note
If there is only one receiver, the app will automatically try to connect to this Reach.
Once you connect to your Reach RS/RS+ via ReachView 3, you can access the settings and set it up for the survey.