PPK
This tutorial shows how to use the PPK function in Emlid Studio to obtain an accurate positioning track. Use post-processing to process the data obtained without a correction link between the base and the rover or to back up the data obtained in RTK.
Getting started#
To perform post-processing, you will need the following files:
- a RINEX observation file from the base
- a RINEX observation file from the rover
- a RINEX navigation file from the base or from the rover
note
If you recorded raw data in the UBX format or got corrections from the NTRIP service in the RTCM3 format, Emlid Studio will automatically convert them to RINEX using the background conversion feature.
Workflow#
To post-process the collected data, follow the steps below:
tip
To add a file, simply drag and drop it from your desktop.
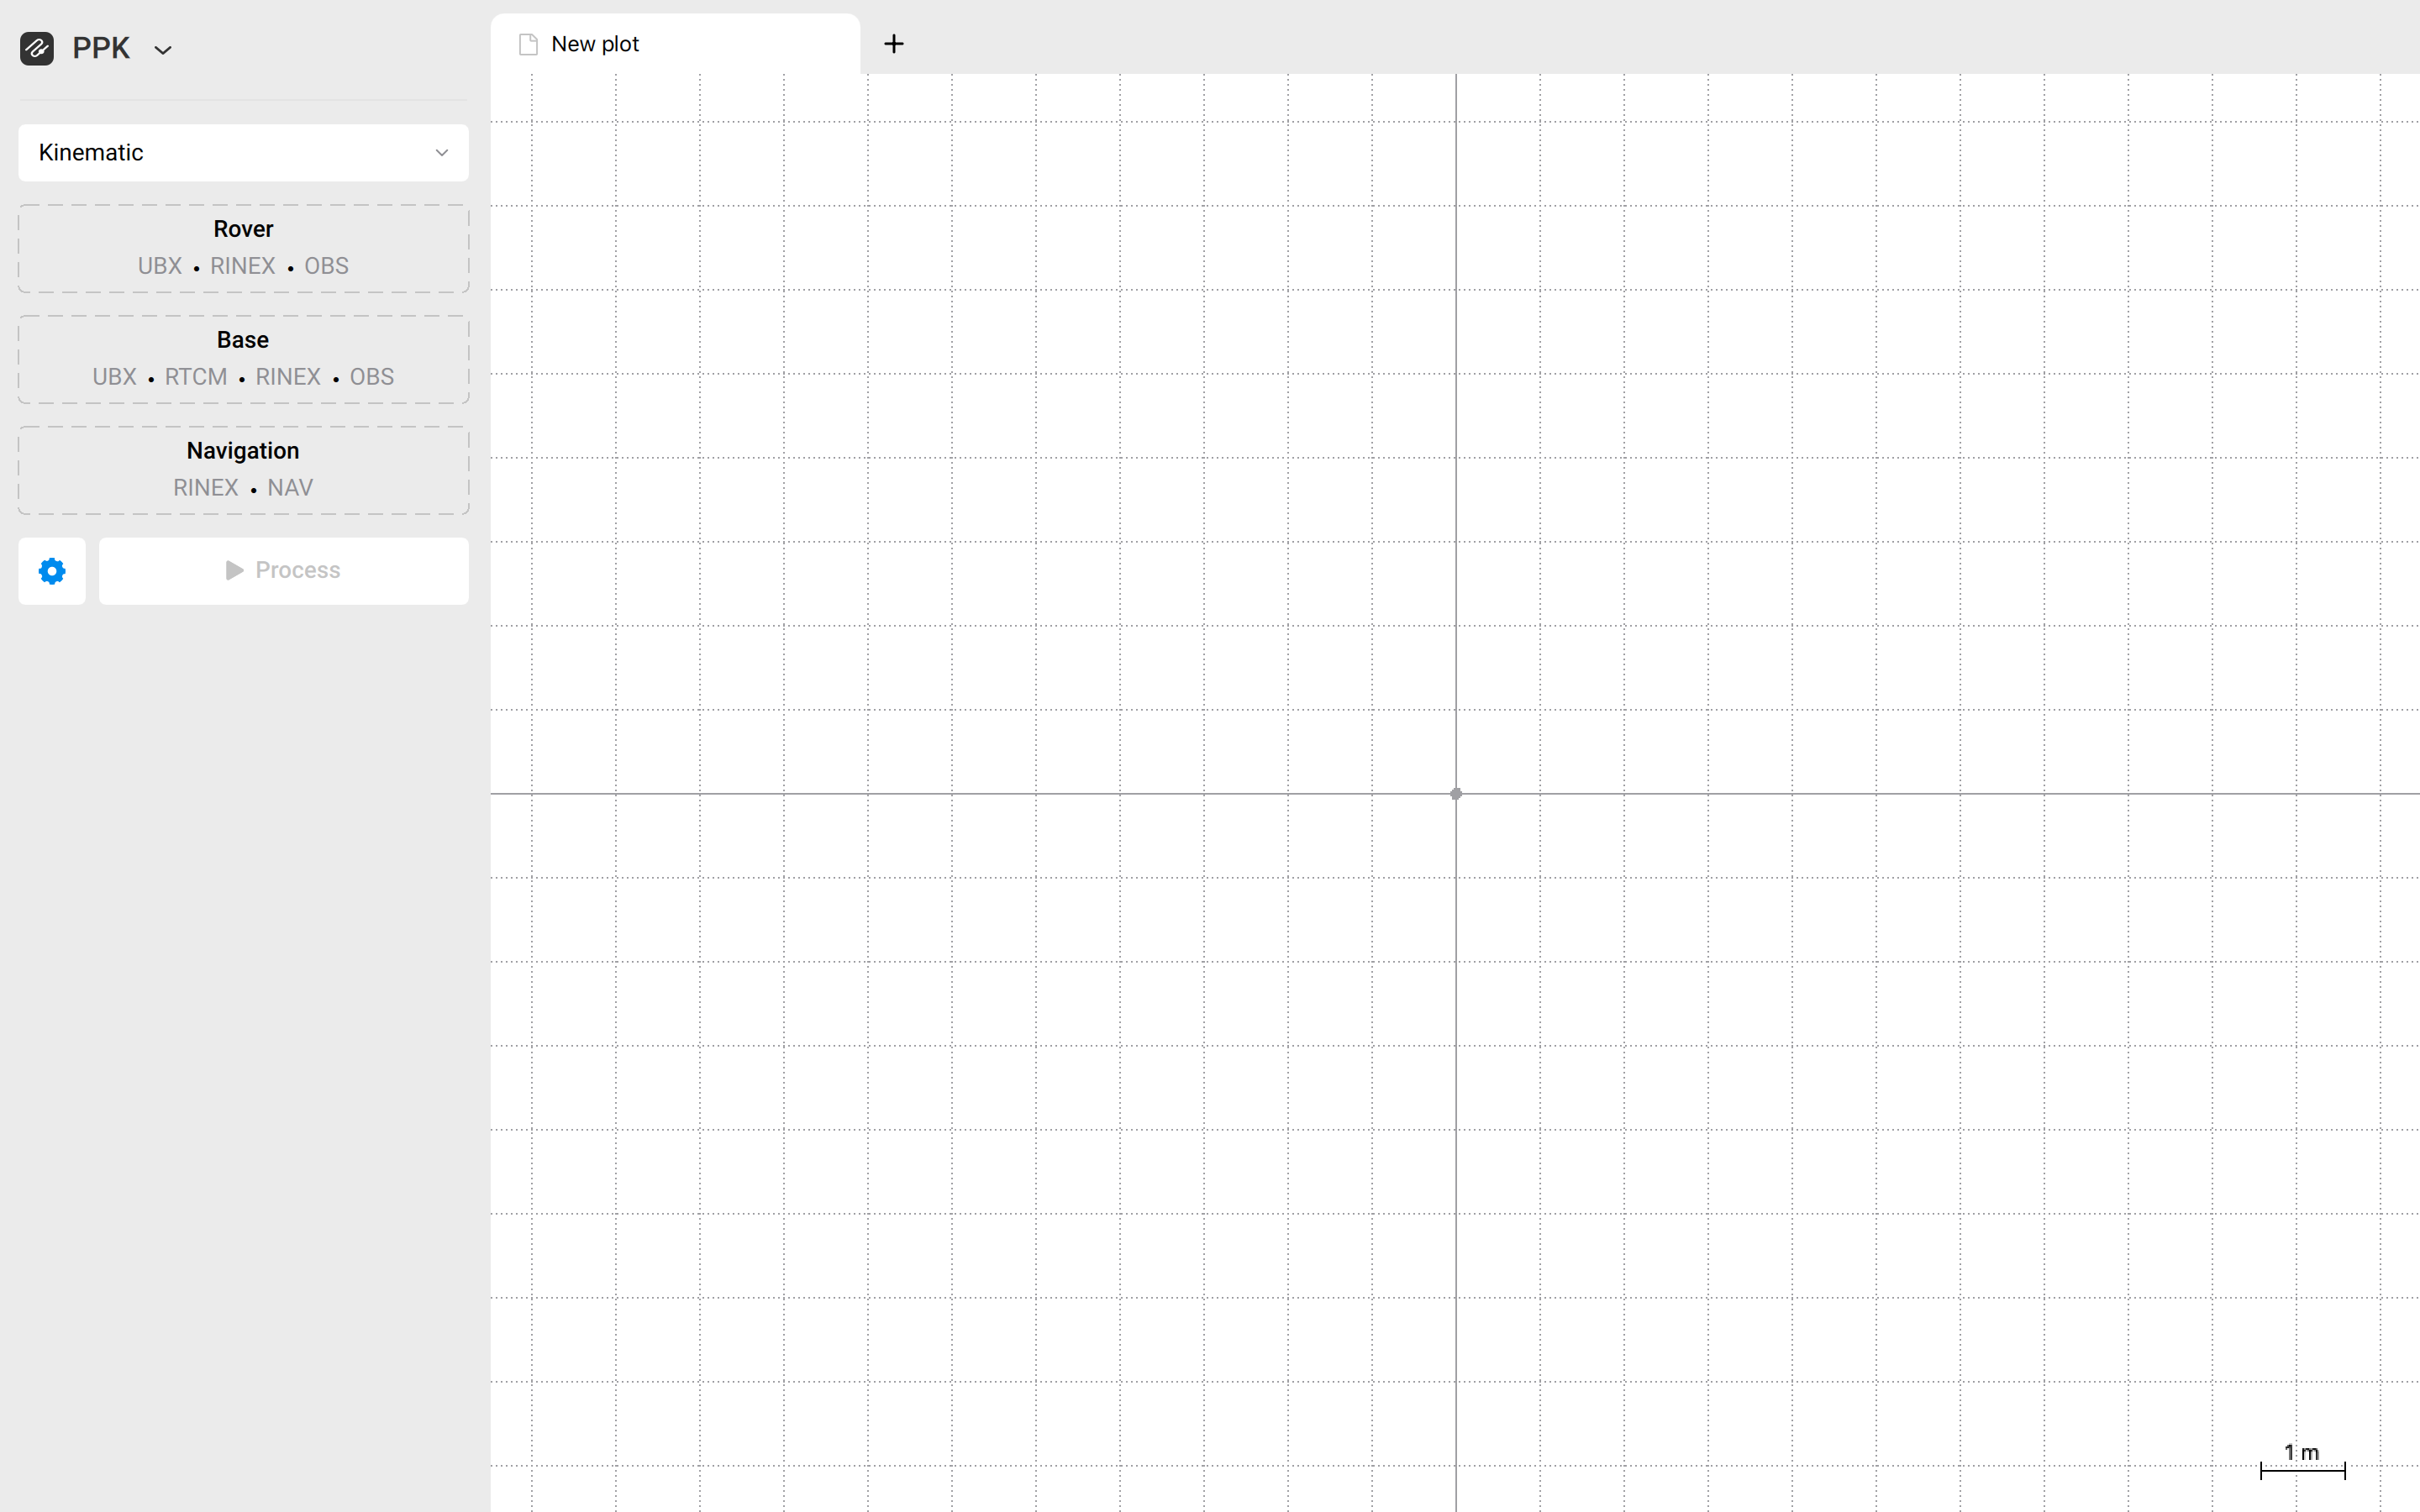
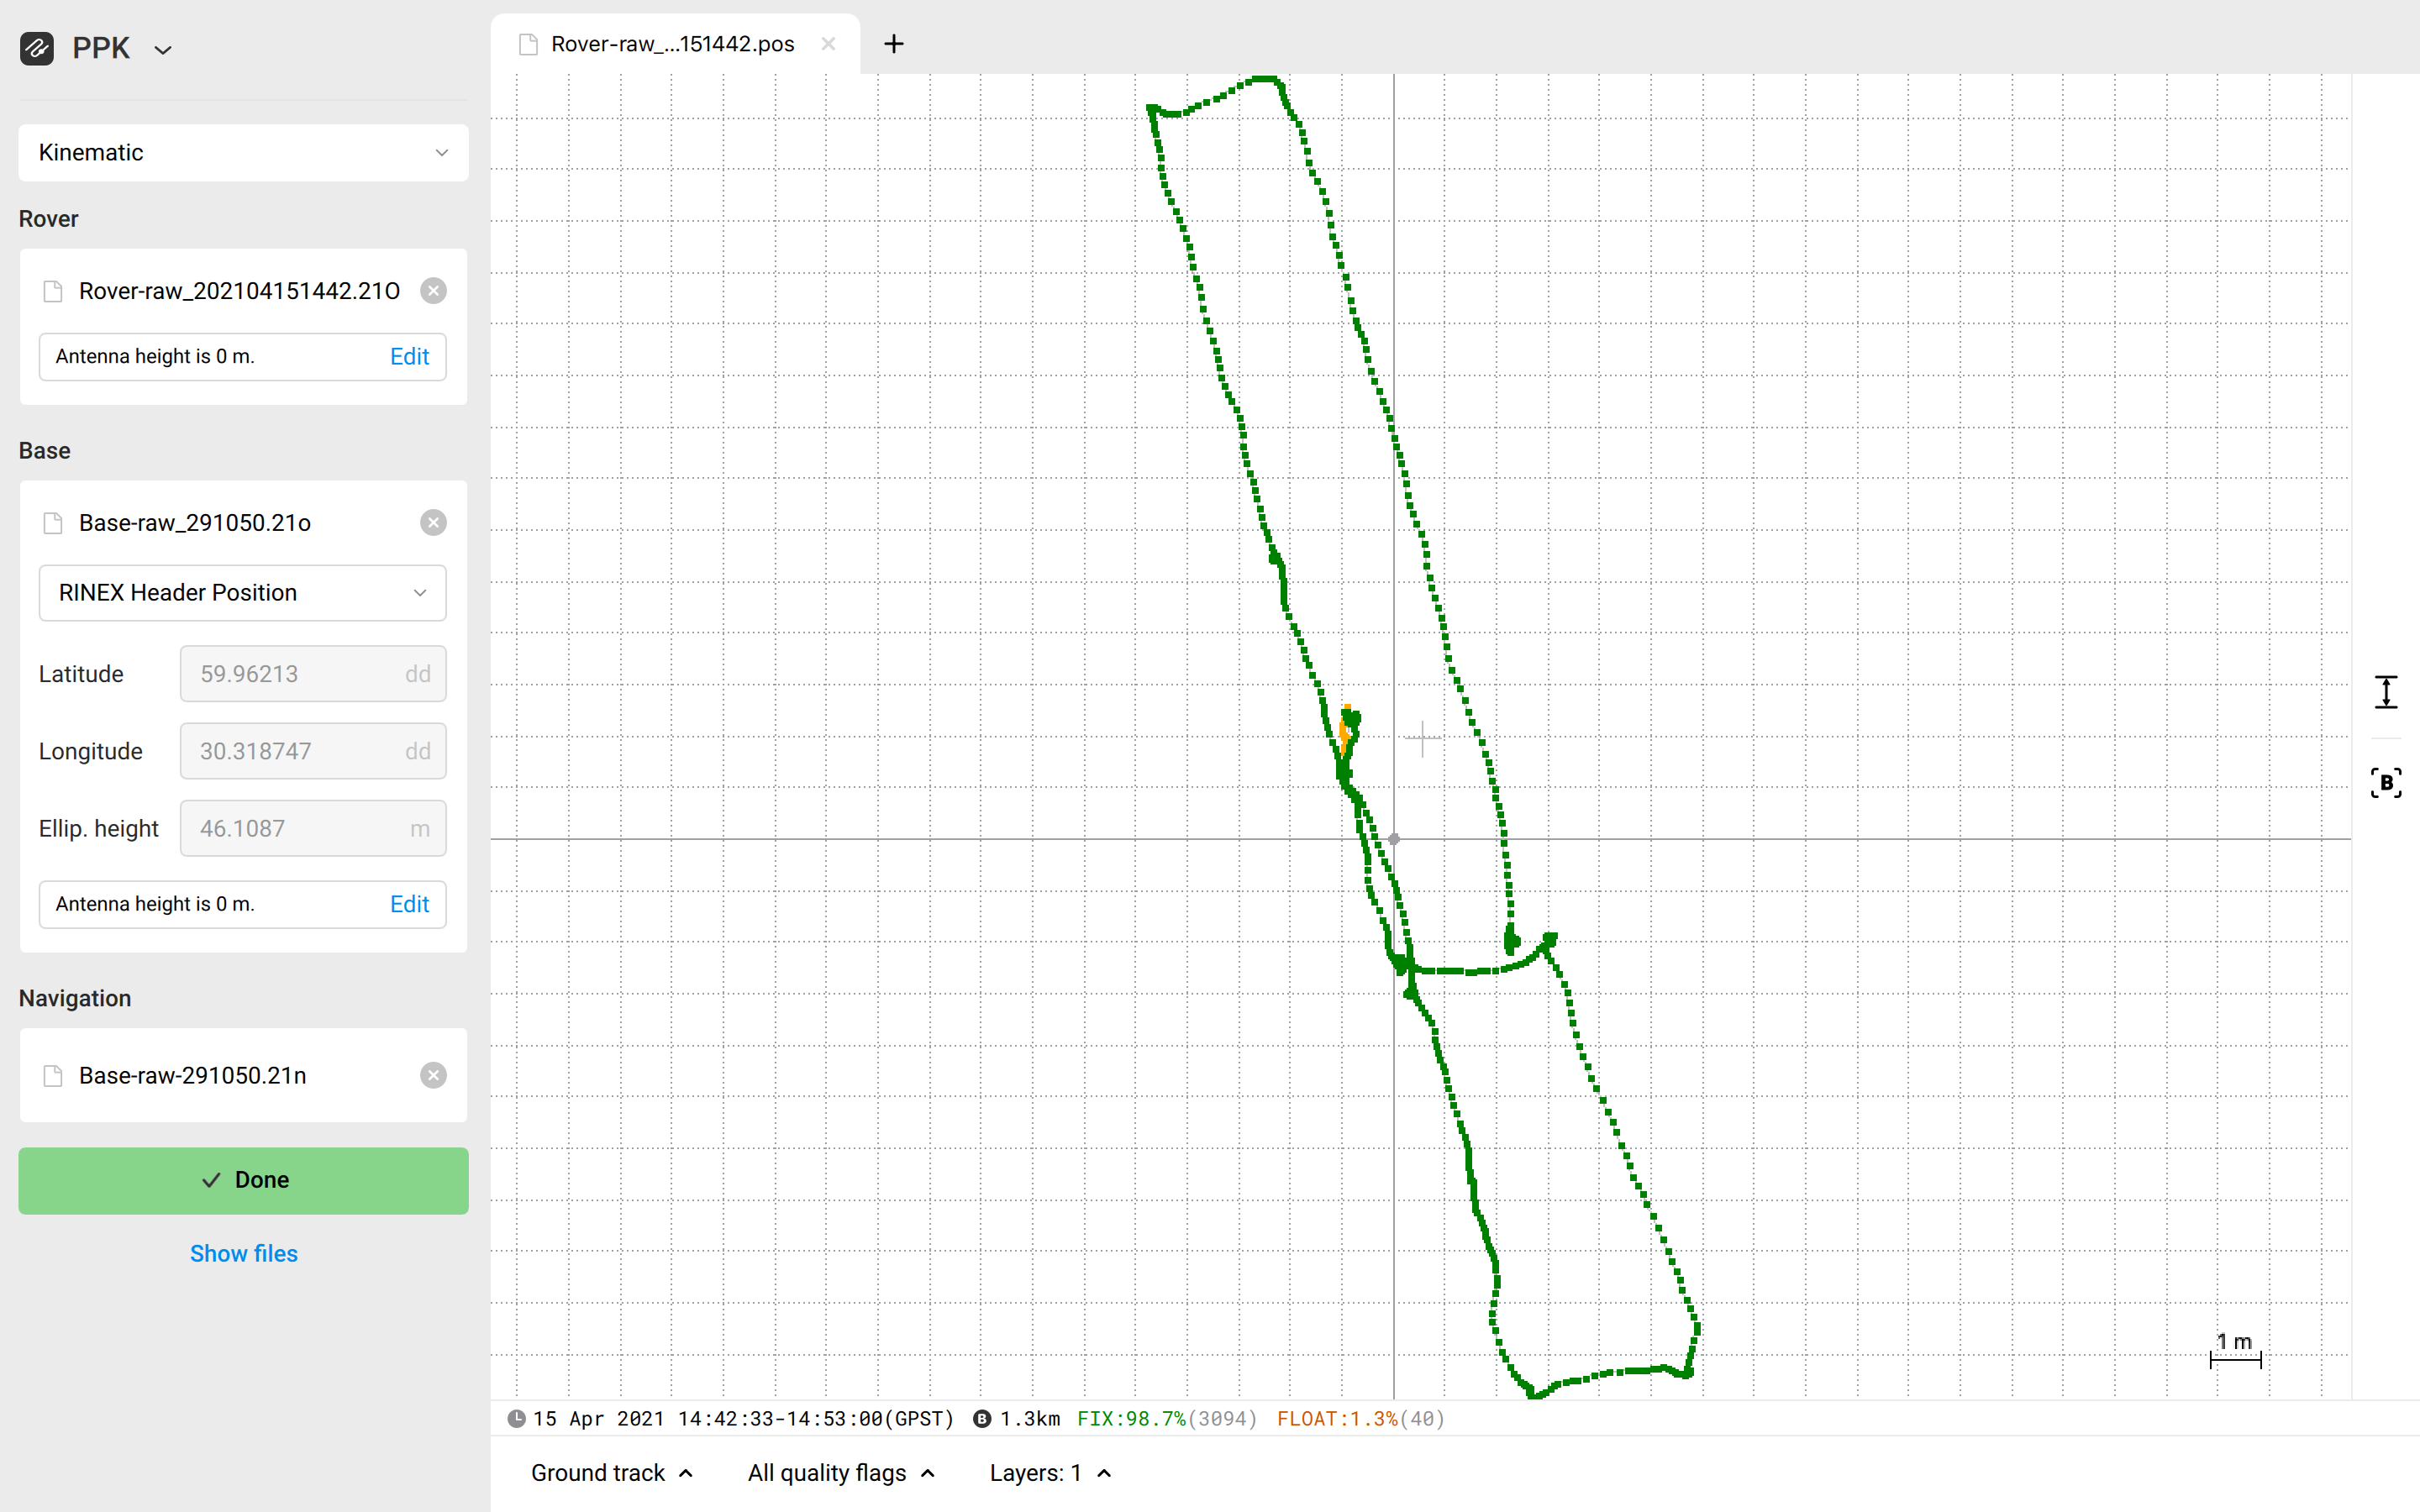
Choose one of the positioning modes:
- Kinematic mode: for the moving rover
- Static mode: for the stationary rover
- Single mode: for the rover only
note
If you select Single mode, only the rover log will be processed. In this mode, the rover does not receive corrections from the base and the accuracy of the calculated position is few meters.
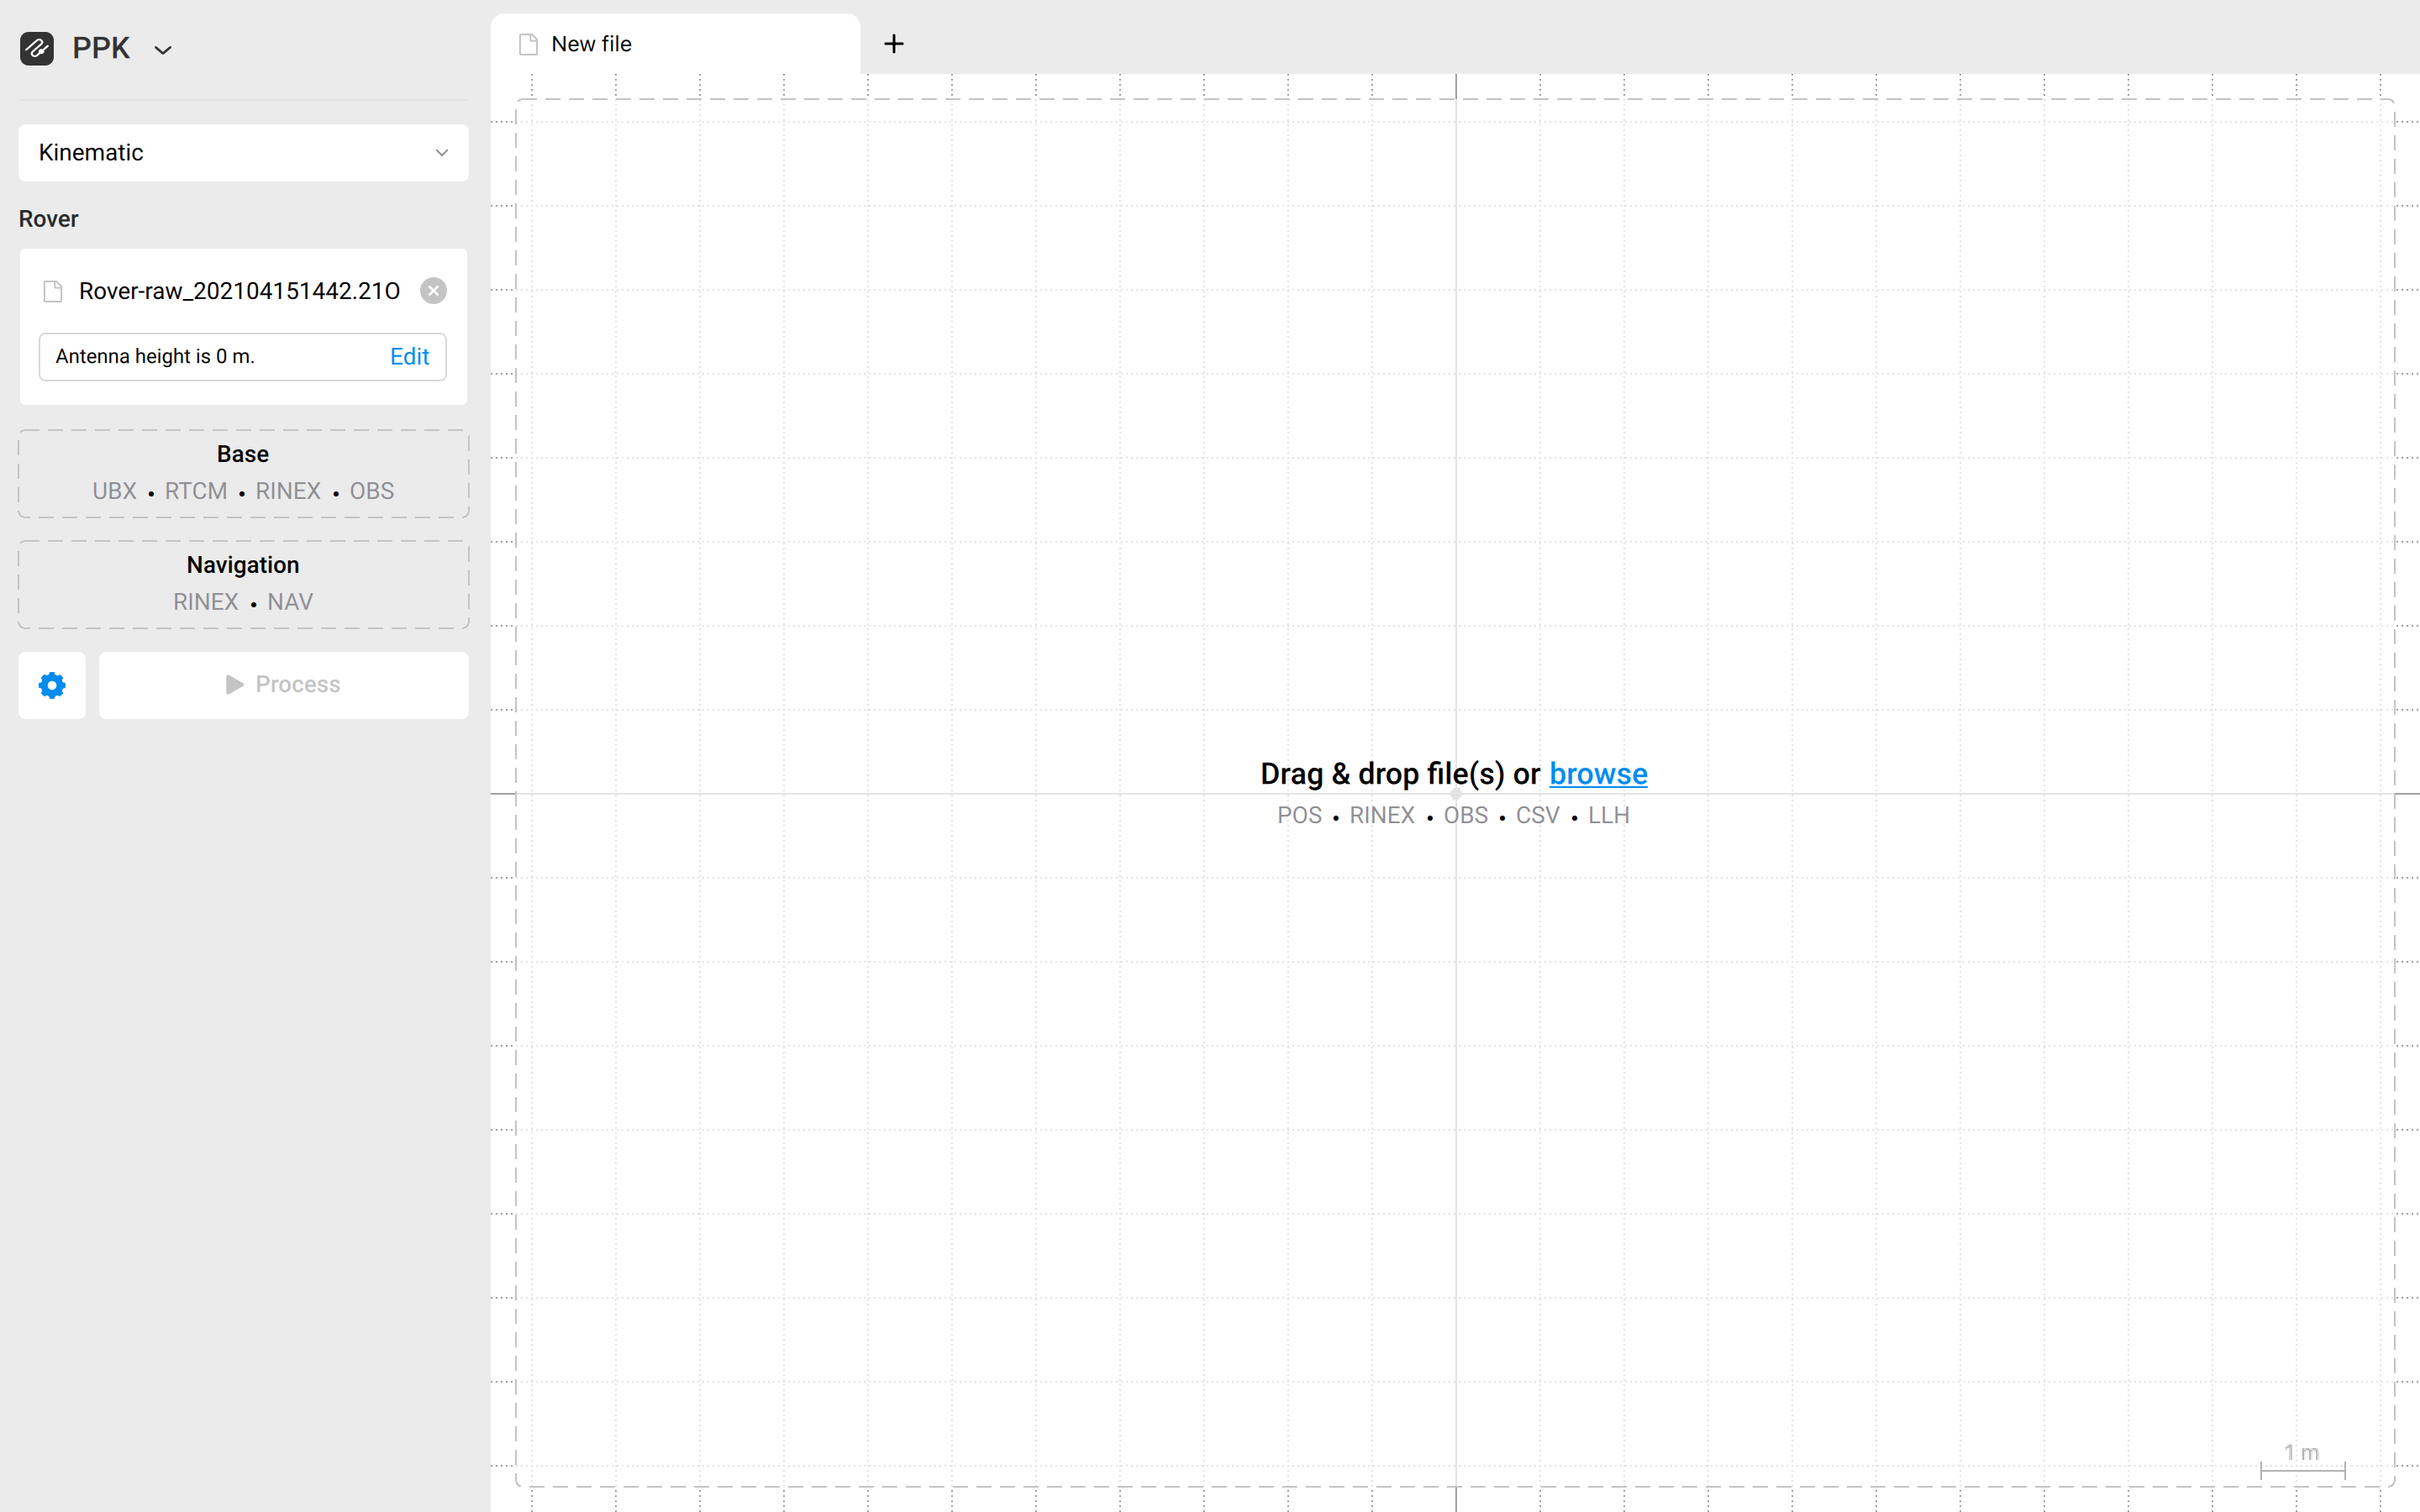
Add the RINEX observation file from the rover
Set the antenna height in meters
note
To calculate the antenna height, add the antenna height offset value to the survey pole's height.
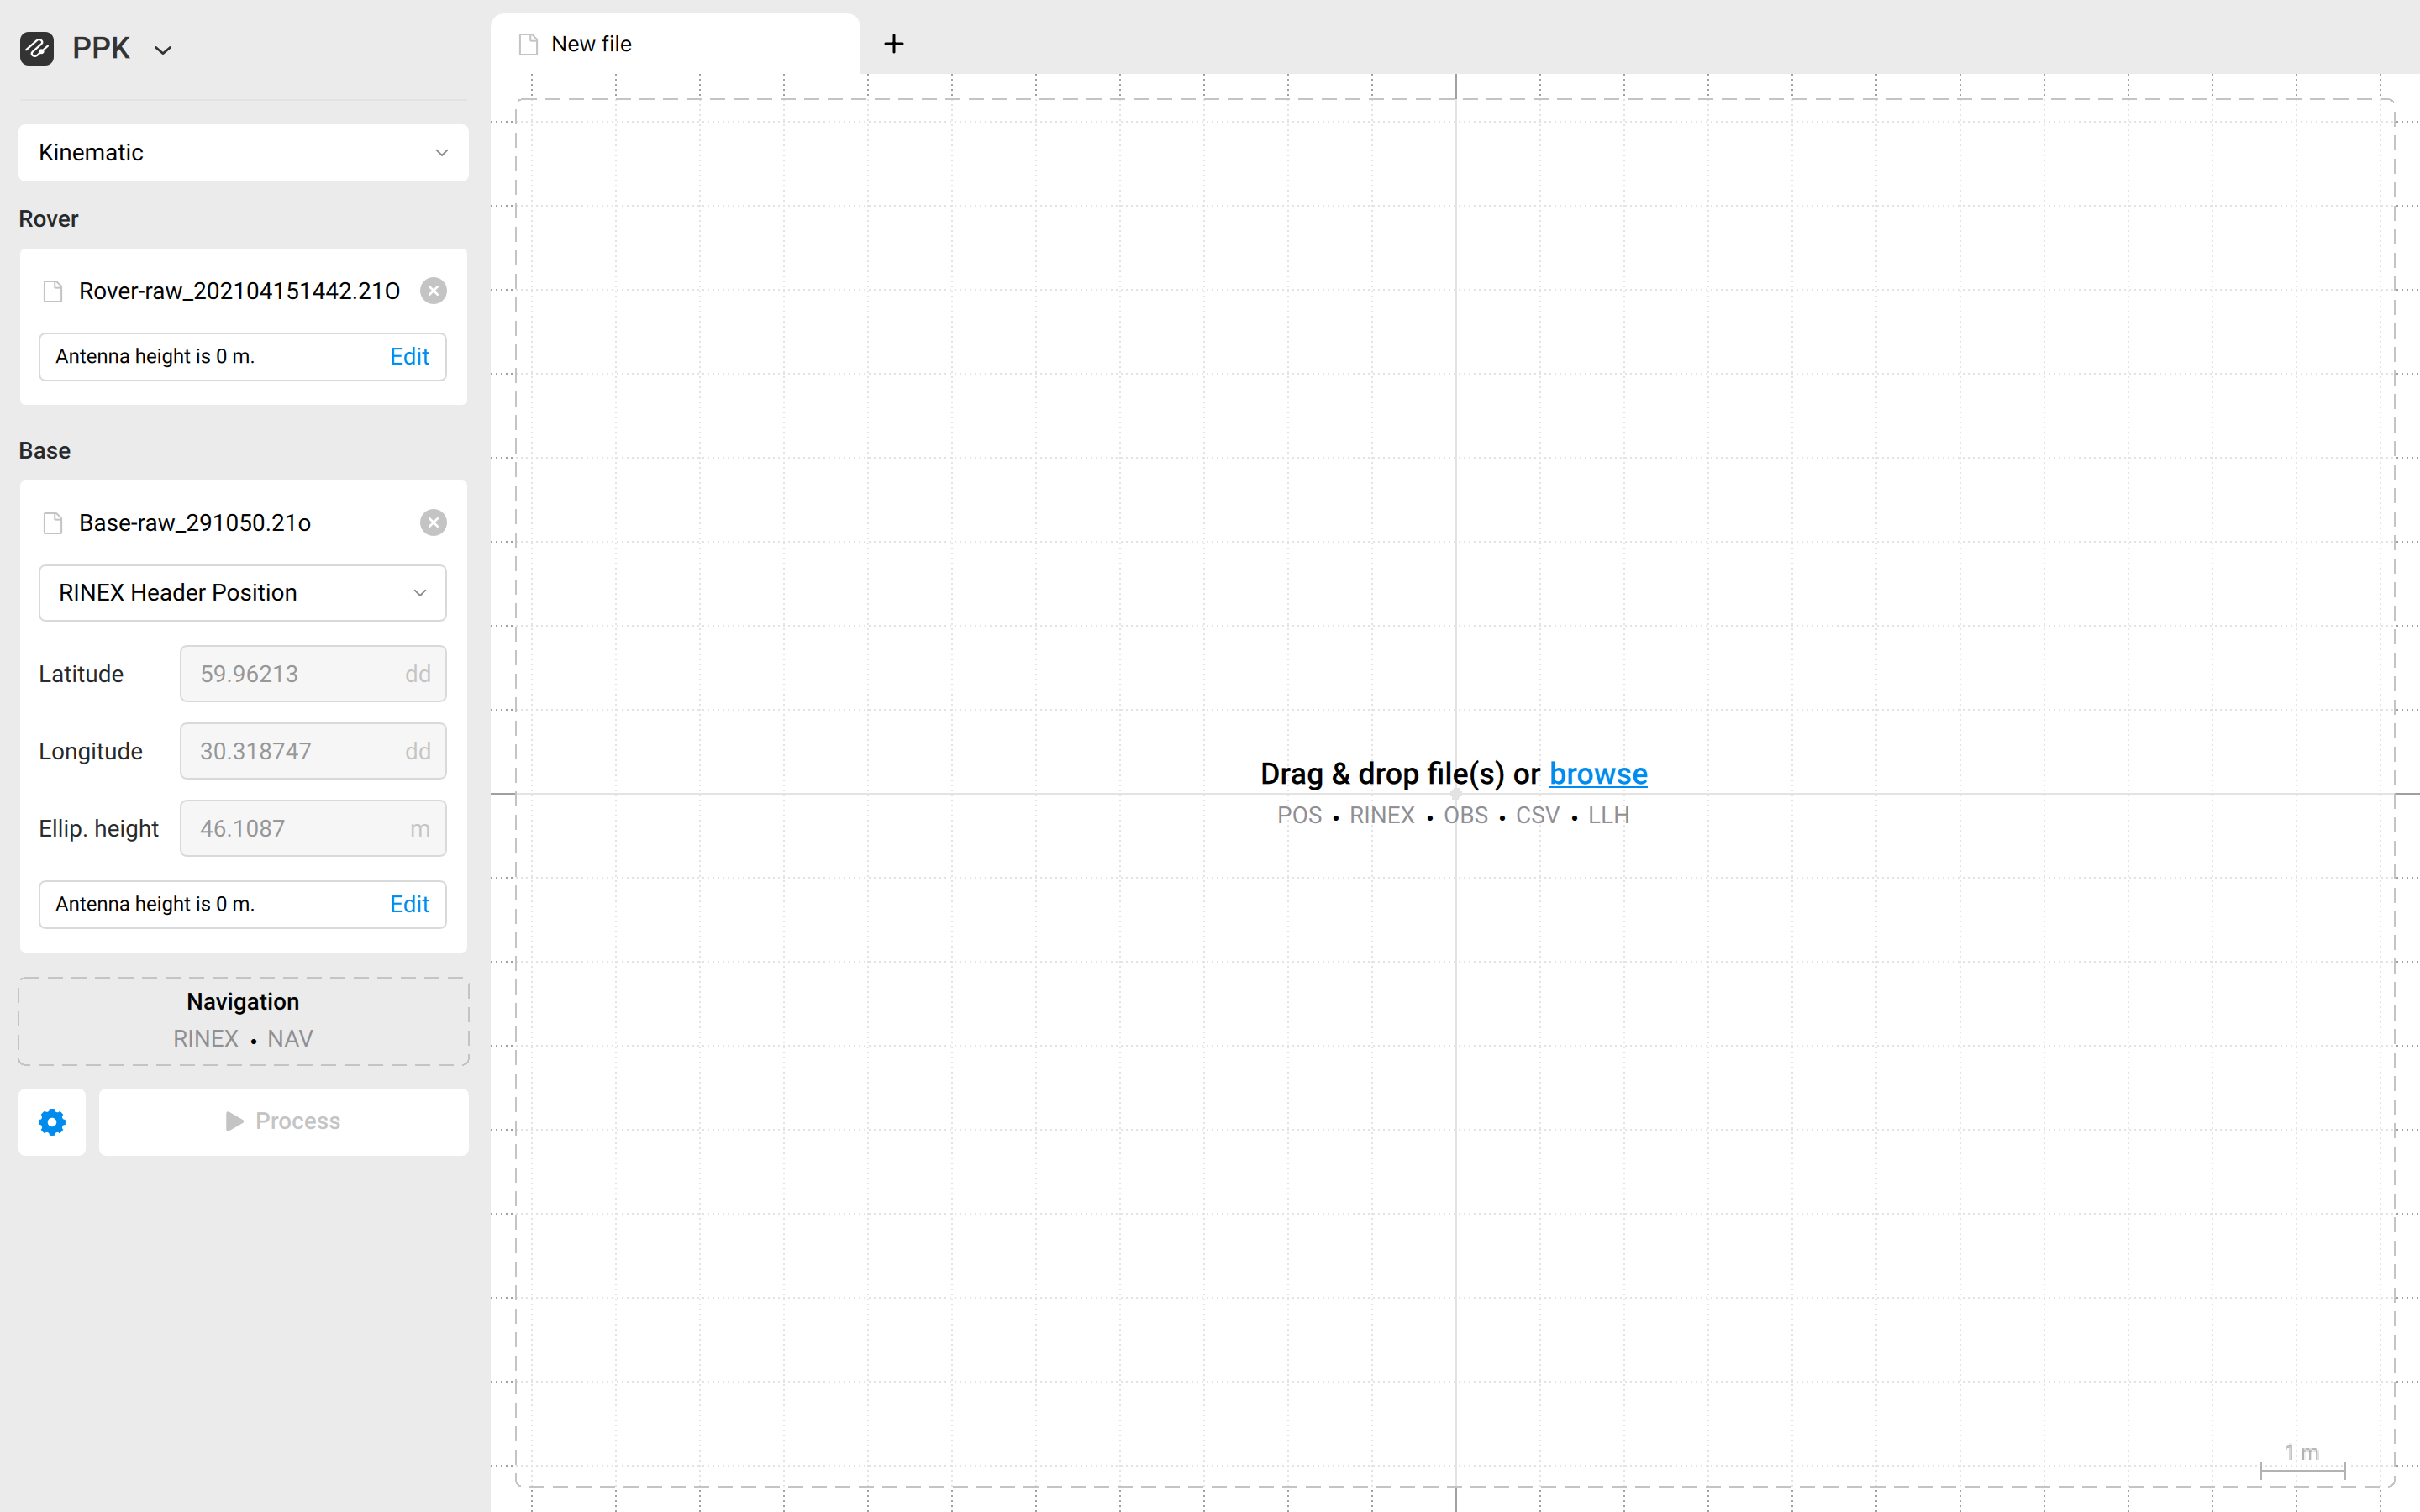
Add the RINEX observation file from the base
Set the base coordinates
note
By default, the RINEX Header Position is used. If you placed your base over the point with known coordinates, enter them manually, including the antenna height.
Add the RINEX navigation file
Click Process. You will see the progress bar in the bottom left corner
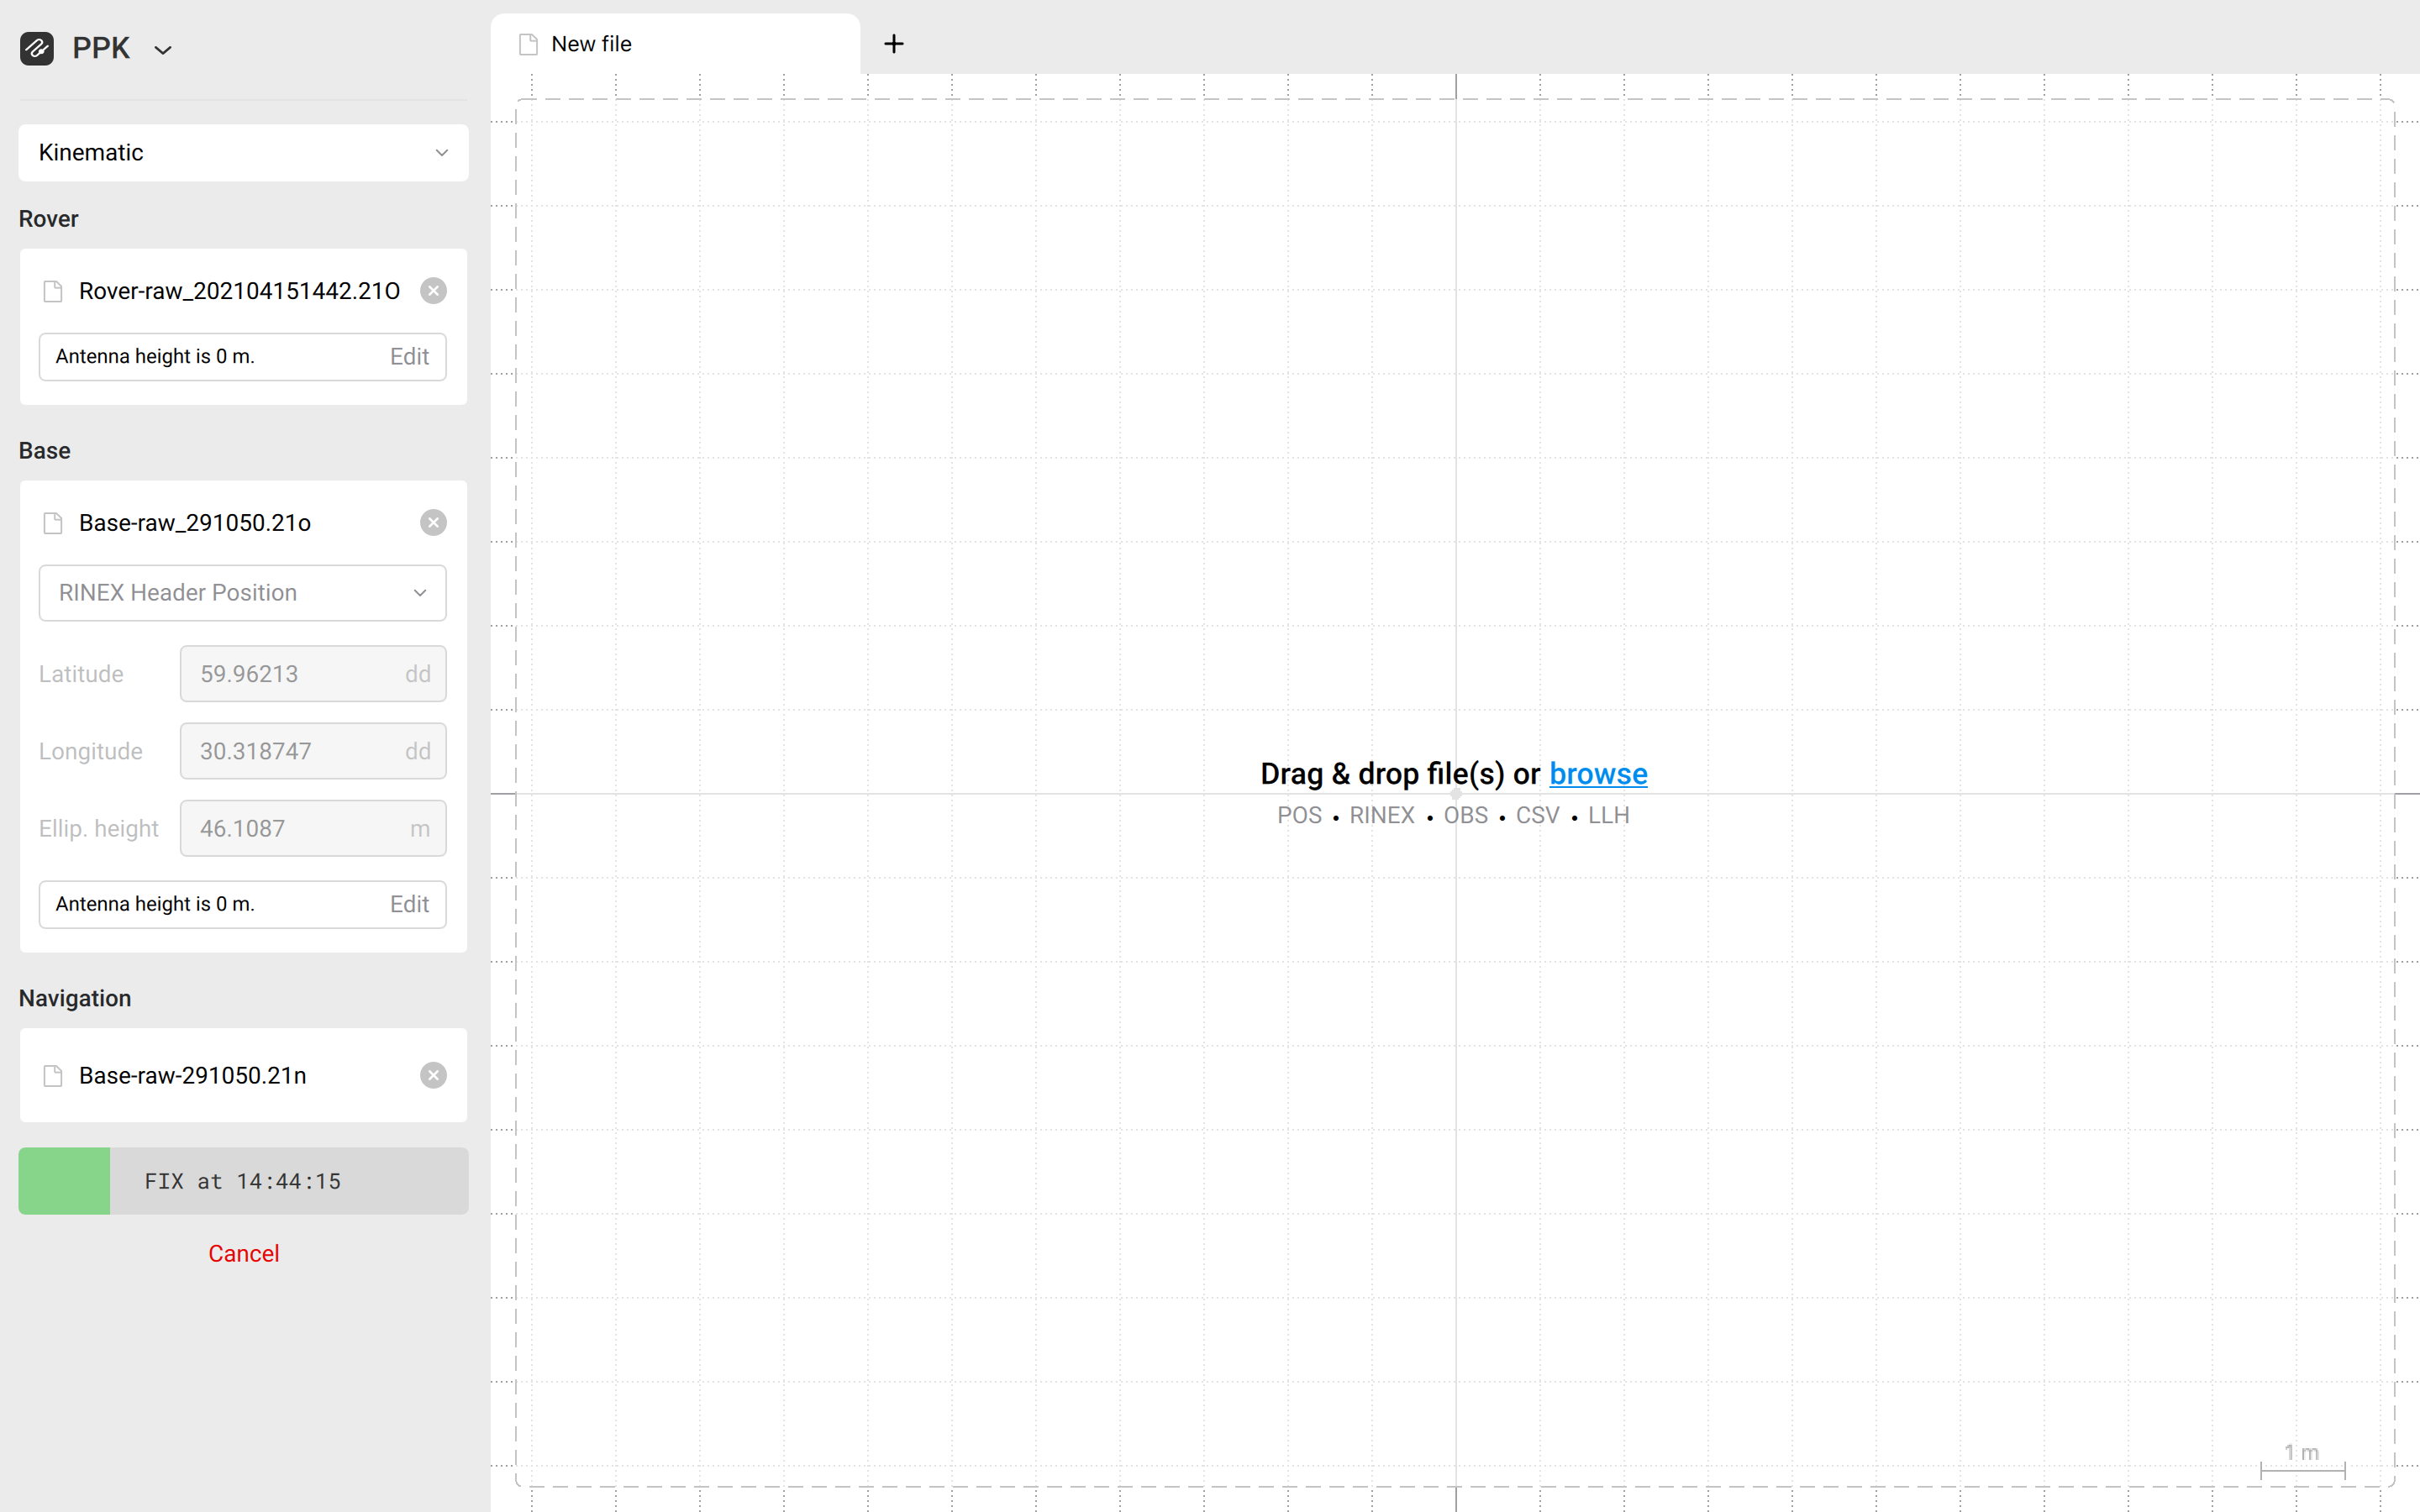
- Once the .pos file is ready, Emlid Studio will show it on the plot
note
If you recorded time marks, the generated events.pos file will be opened in a new tab.
note
Click the Show files button to move to the resulting folder.