Microsurvey FieldGenius Setup guide
In this tutorial, you will find the information on how to setup data collector running FieldGenius with Reach via Bluetooth. Step-by-step guide can be also found on MicroSurvey knowledgebase.
note
If you use FieldGenius for Android, please refer to the Bluetooth output and Android mock location guide.
Configuring Bluetooth connection#
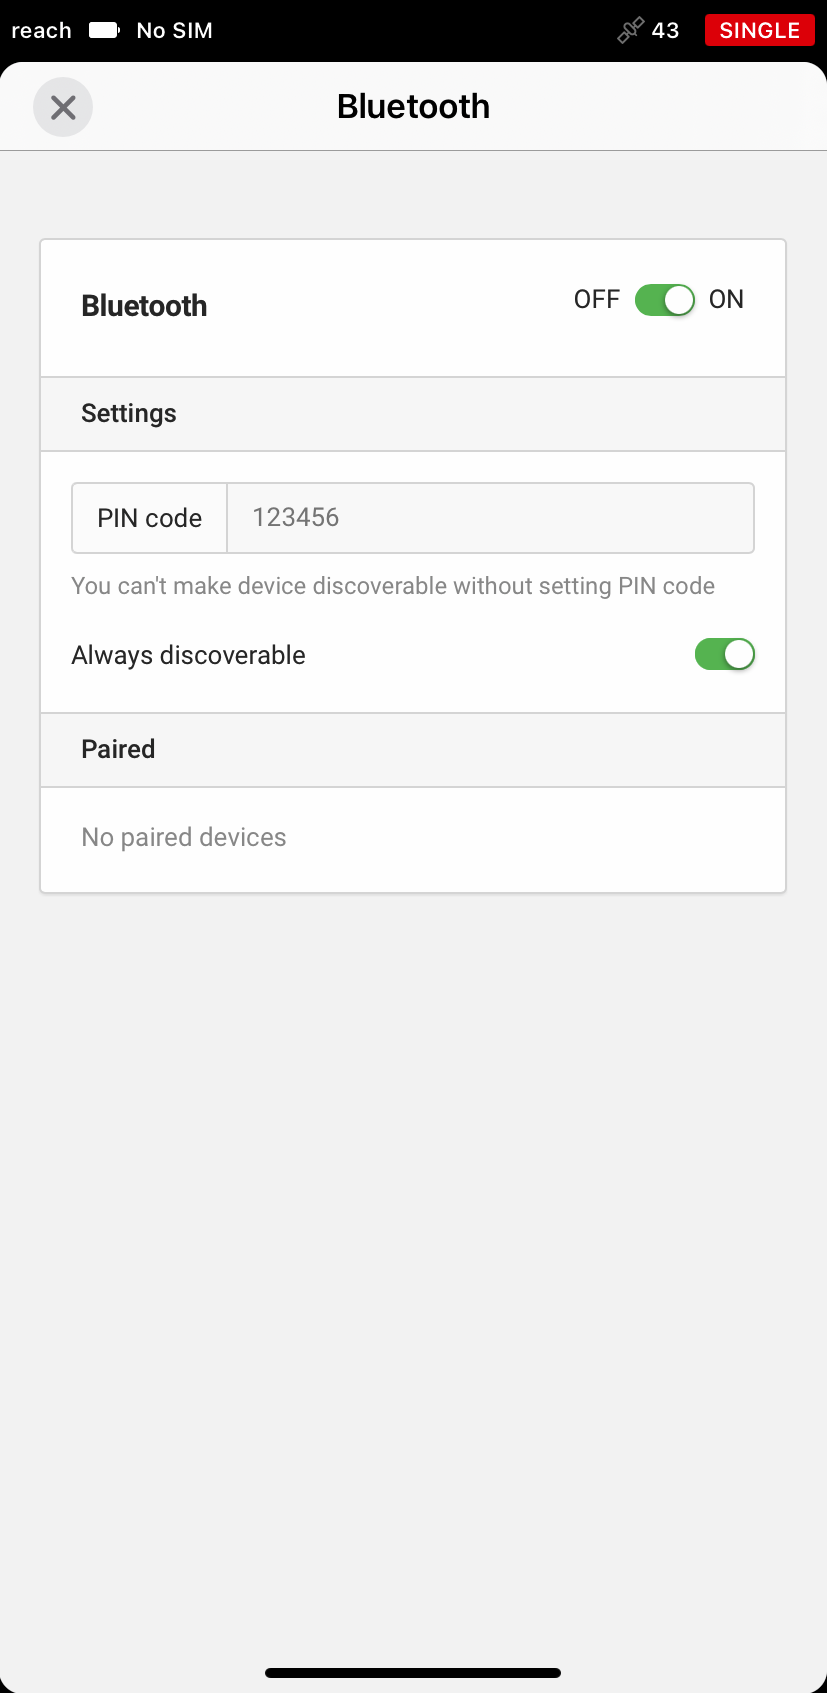
- In the ReachView 3 app go to the Bluetooth tab. Turn on Bluetooth and make Reach always discoverable
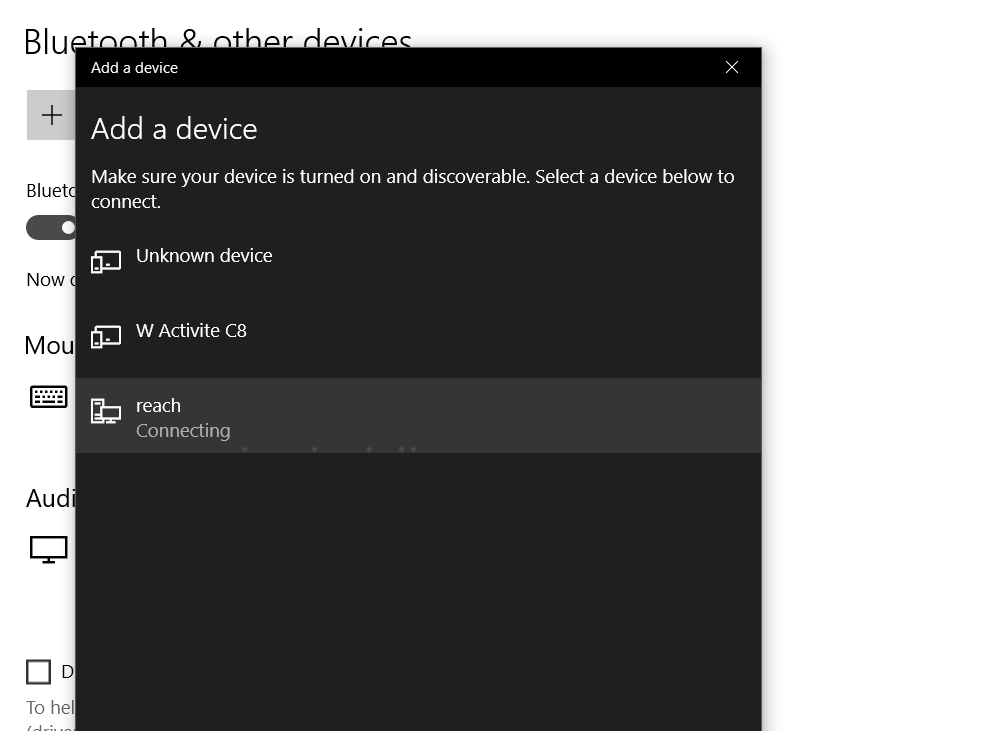
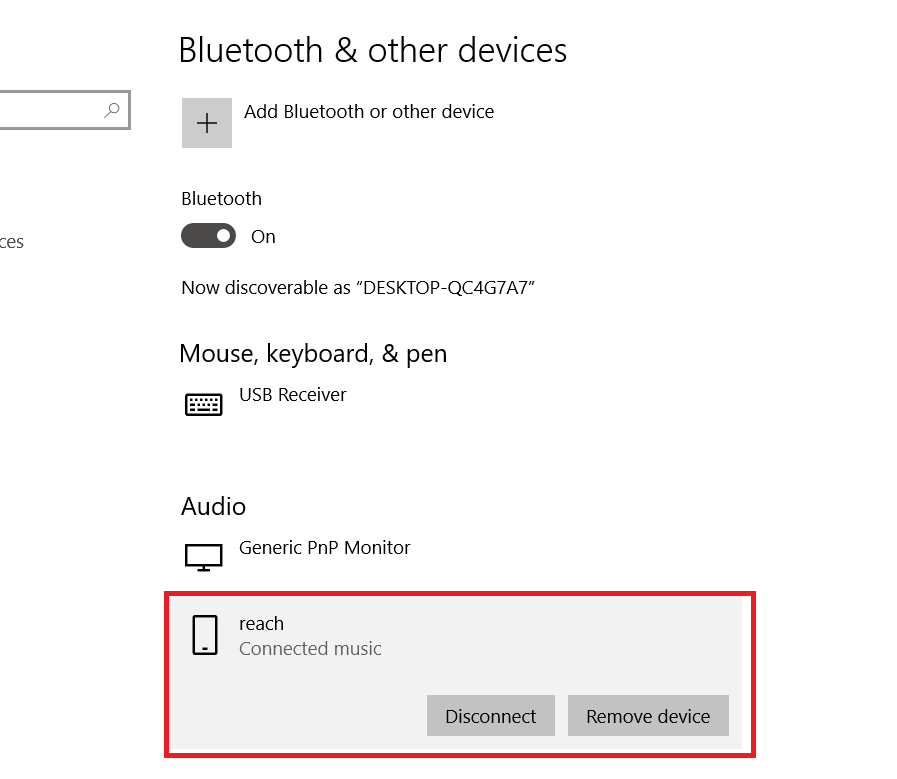
- In Windows, go to Bluetooth settings and select Add a Bluetooth Device. Select Reach from the list of discovered devices and confirm the connection
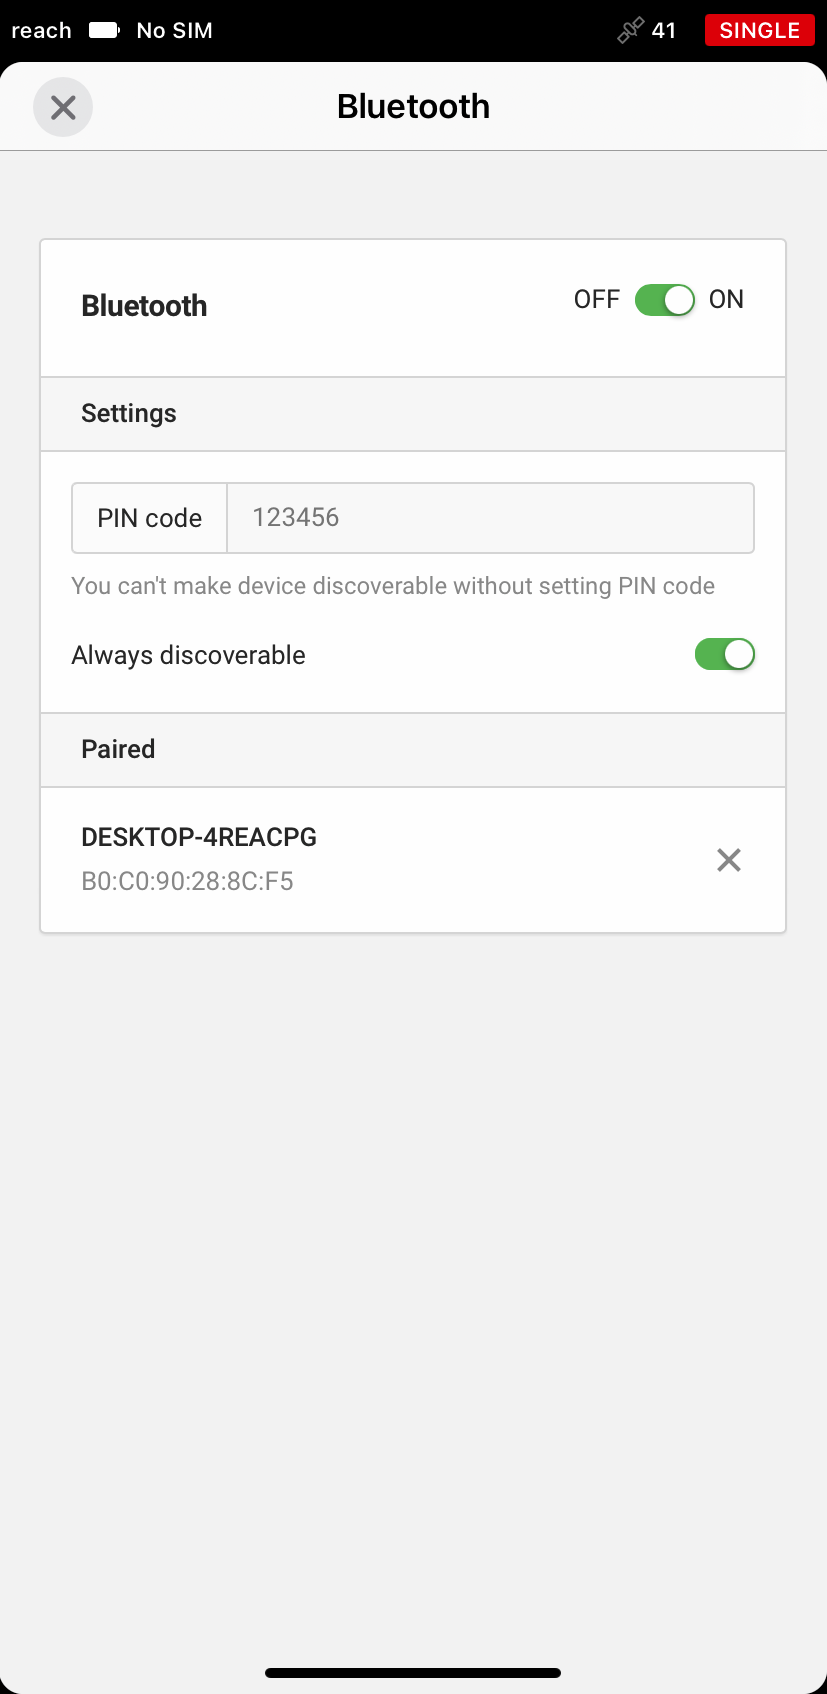
- When pairing is completed you will see the Windows device is listed in ReachView 3. Reach device will be listed as device in Windows
Configuring ReachView 3#
After successful Bluetooth pairing, you should configure BT position output and correction input if needed.
Position output#
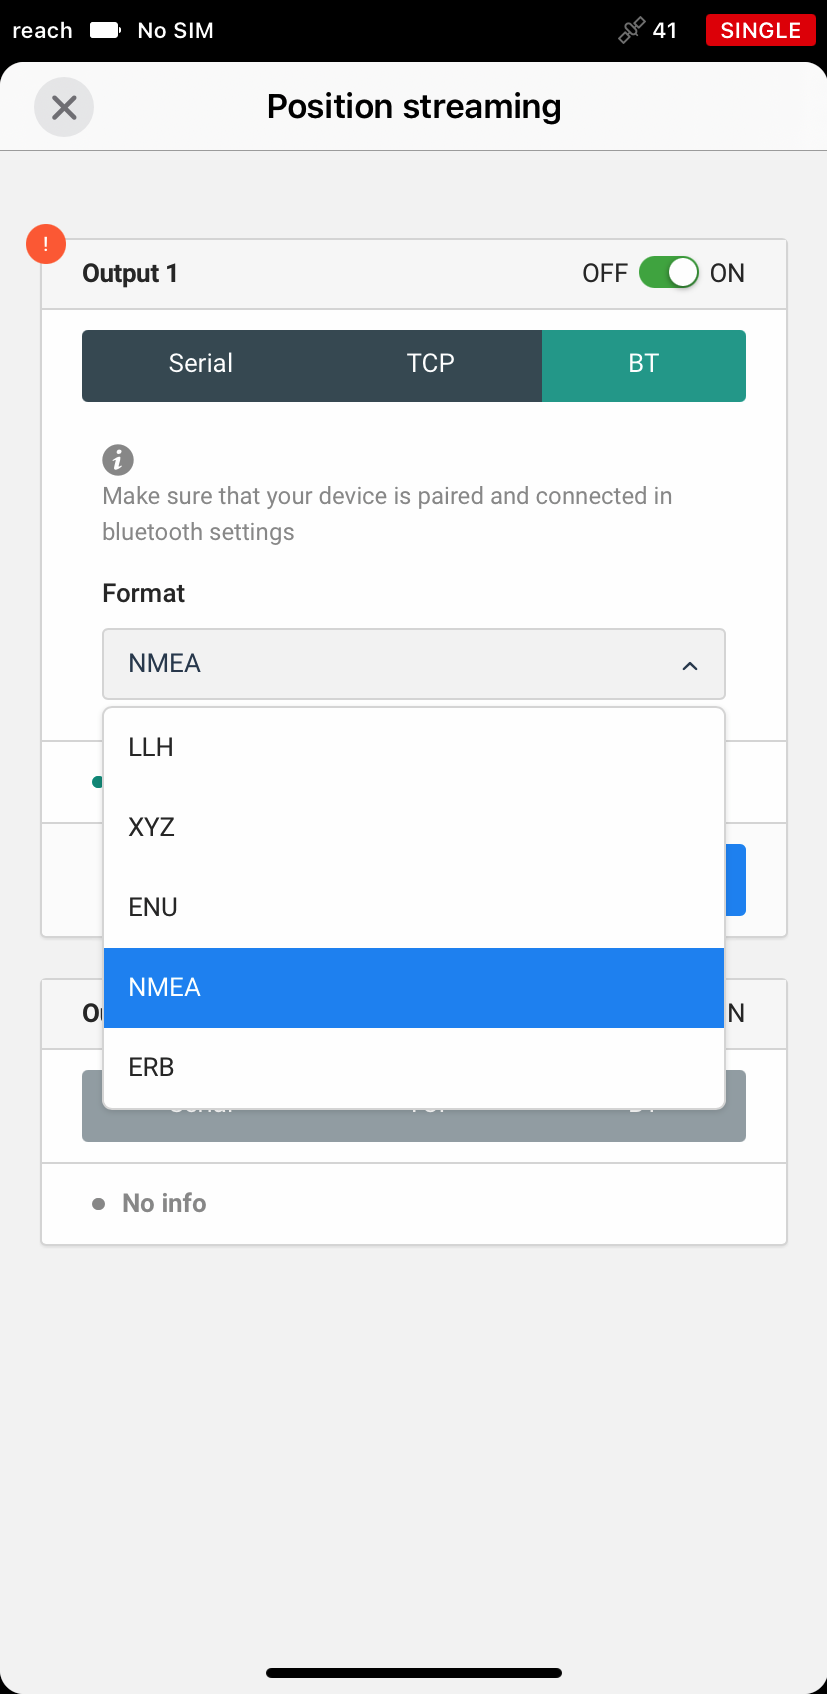
- Go to the Position output tab in ReachView 3 and select the Bluetooth tab. Select NMEA format and click Apply
Correction input#
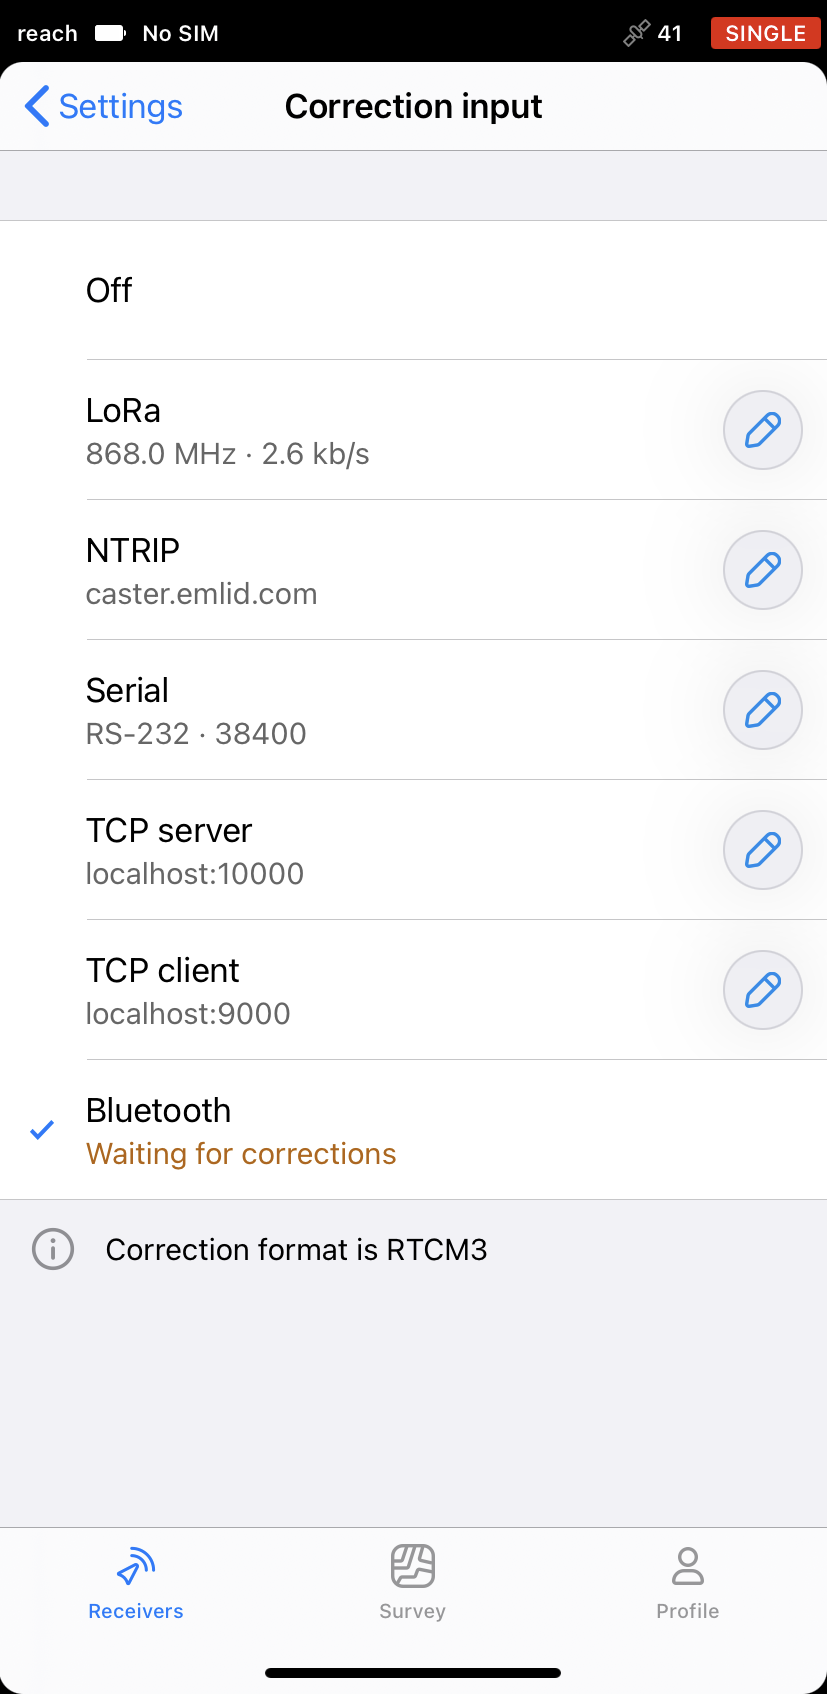
- If you want to send the corrections from your controller via Bluetooth, go to the Correction input tab and select the Bluetooth tab
Configuring FieldGenius#
Creating a new project and instrument profile#
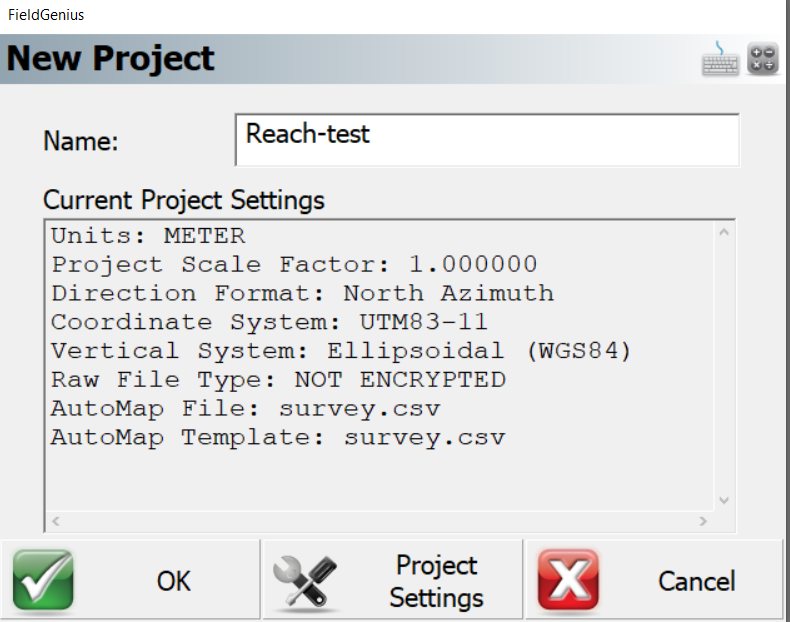
- Launch FieldGenius. It will ask to create a new project. On this step, you can go to Project Settings to configure units and coordinate system. Click OK to proceed
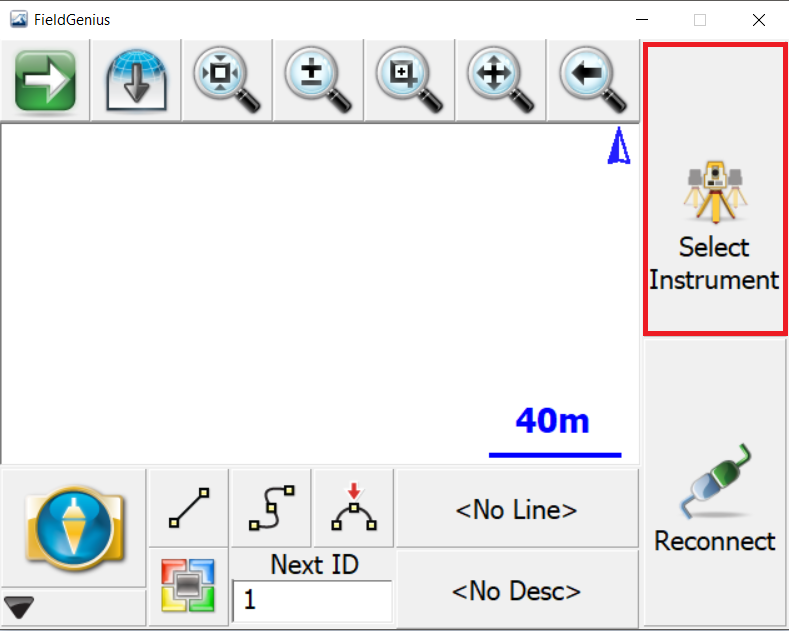
- You will see the FieldGenius interface. Choose Select Instrument
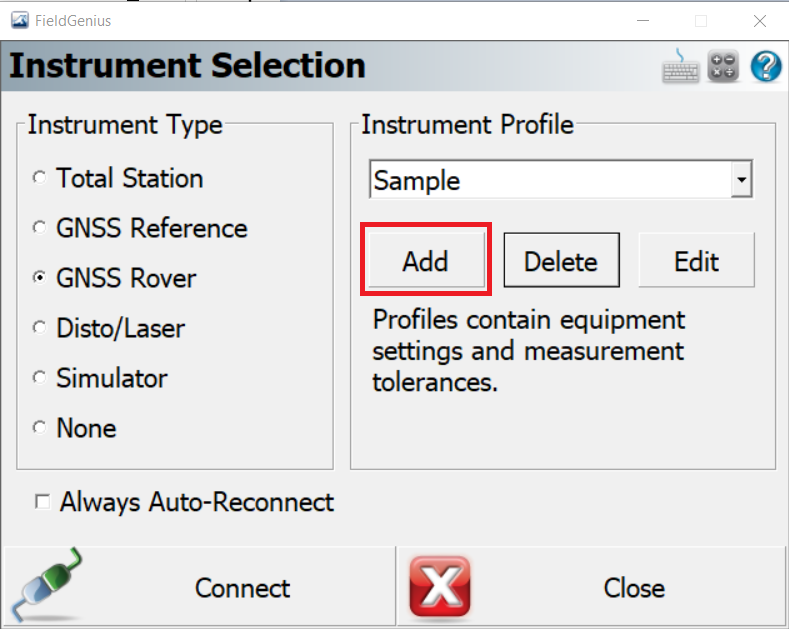
- Choose the GNSS Rover instrument type and add new instrument profile
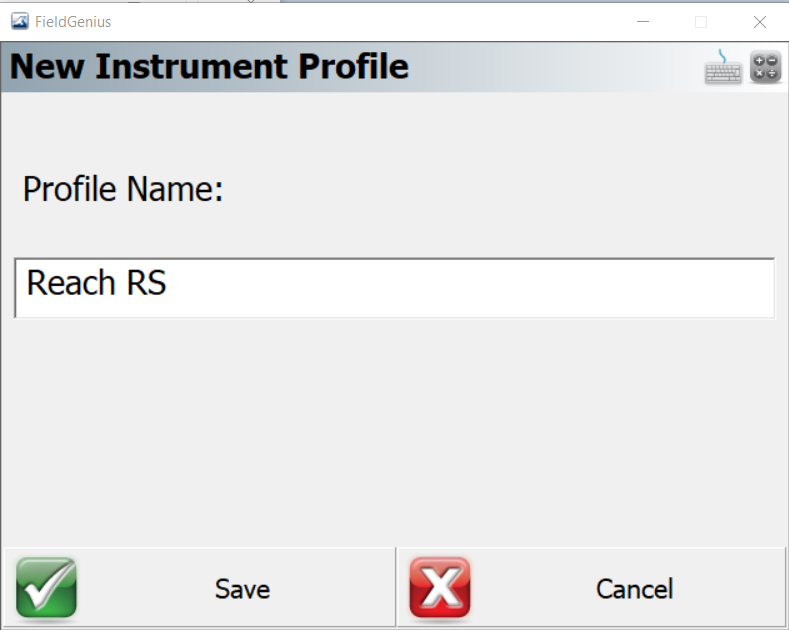
- Set Reach profile name and click Save
Configuring the communication between FieldGenius and Reach#
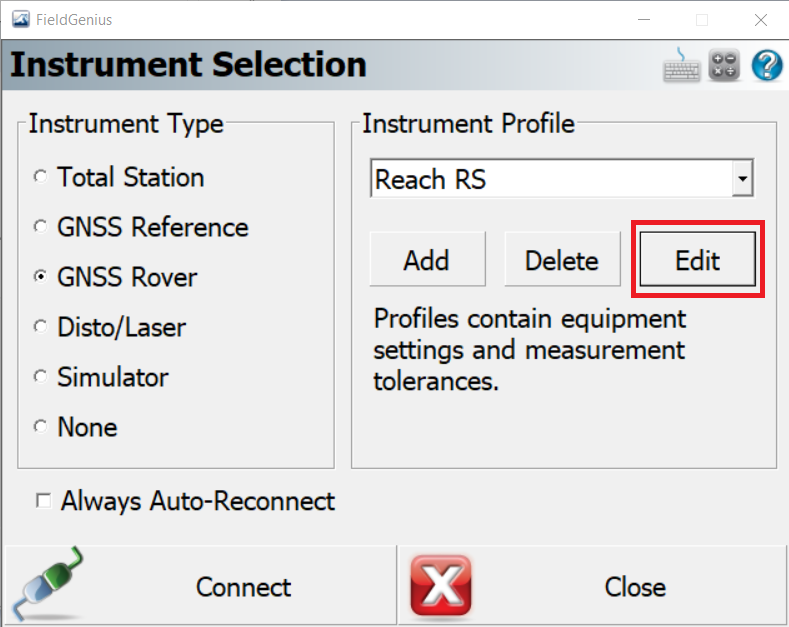
- Pick the Edit option to configure the receiver parameters
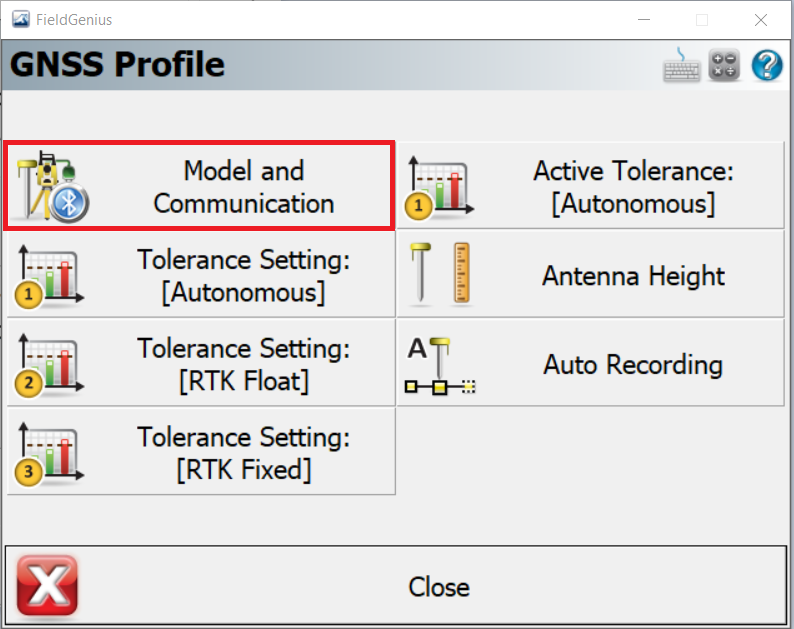
- Select Model and Communication
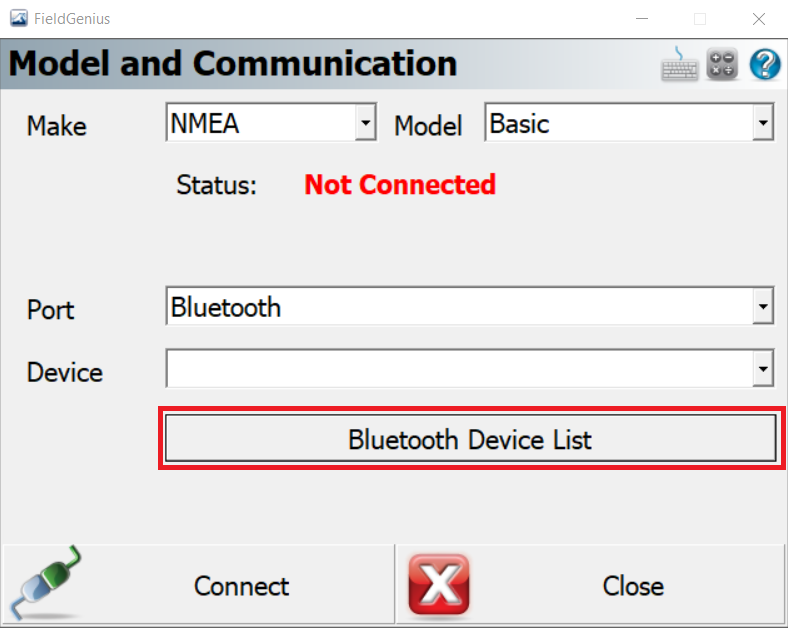
- Select NMEA from the Make list and Basic Model. Click on Bluetooth Device List
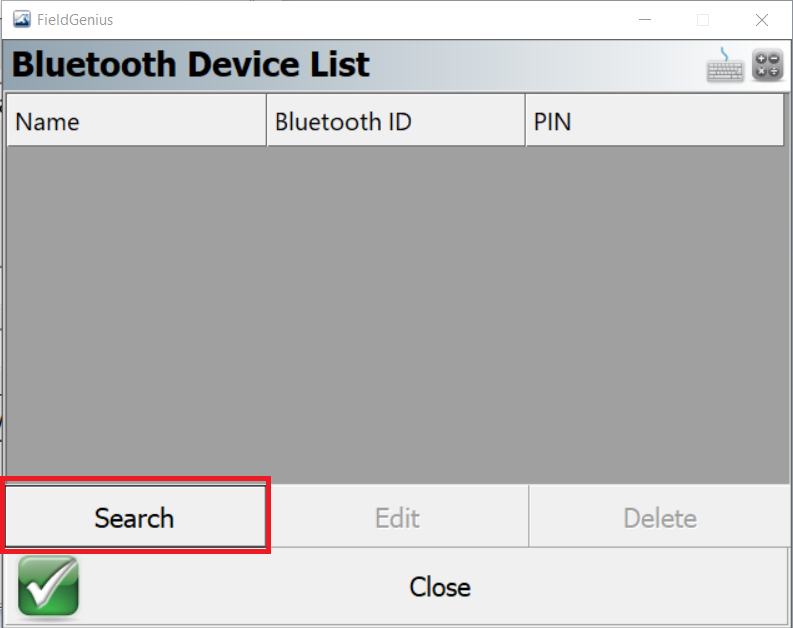
- Click Search in Bluetooth Device List
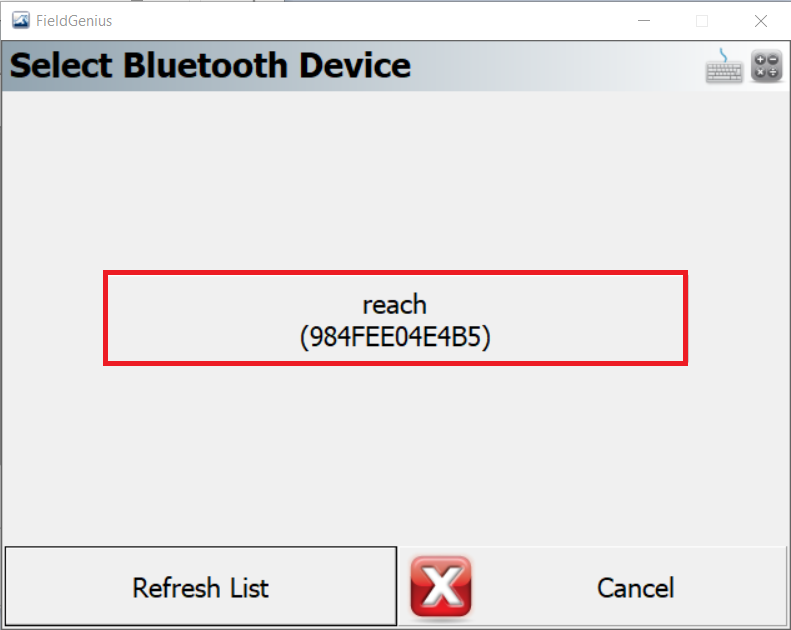
- Select Reach device
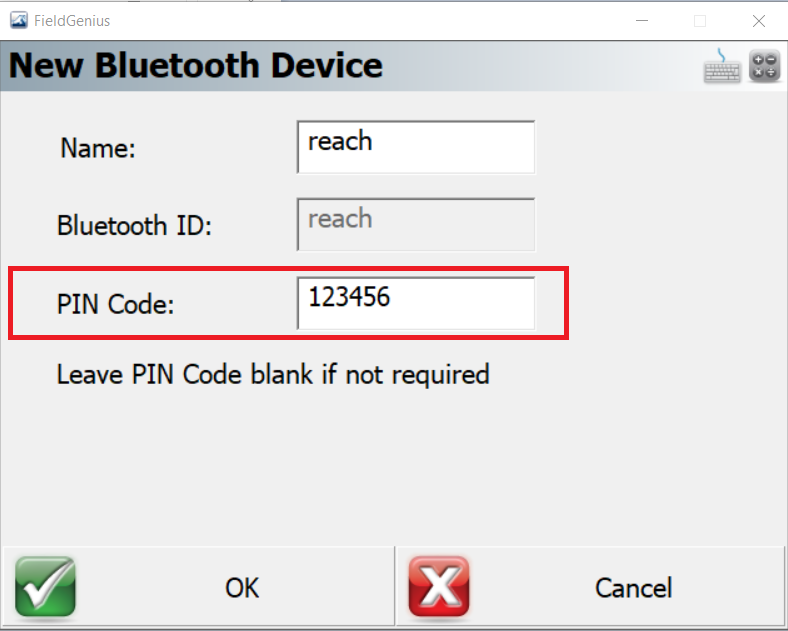
- Enter the default PIN Code (it is "123456" for Reach) and press OK
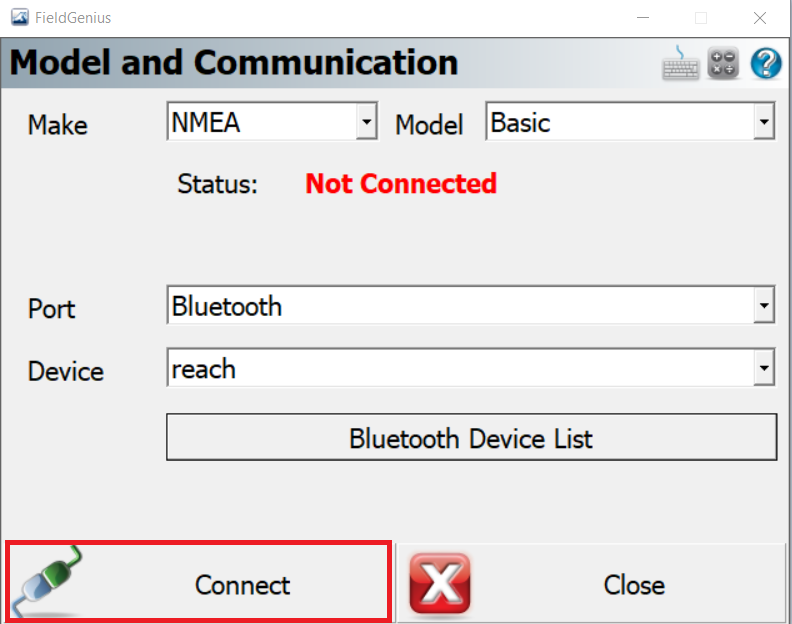
- After adding Reach device in Bluetooth Device List, return to Model and Communication settings and click Connect
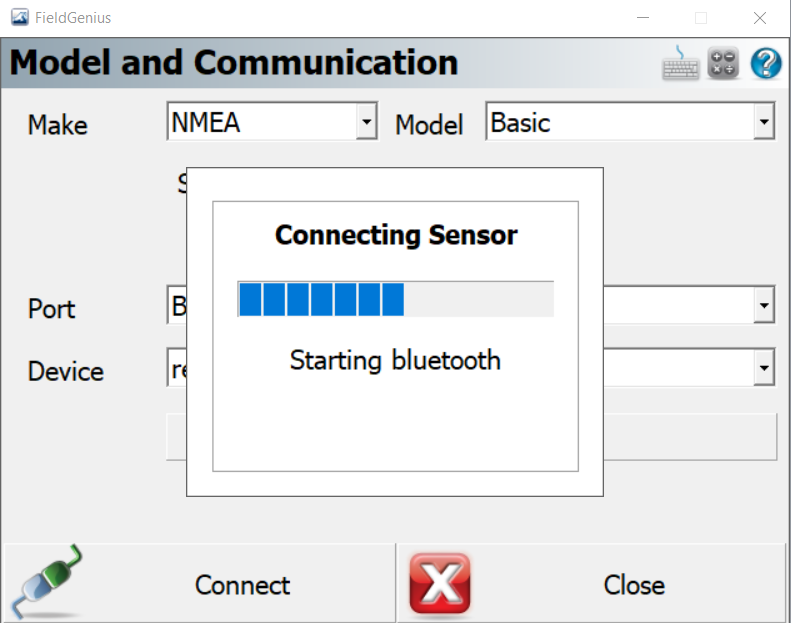
- You will see the progress dialog
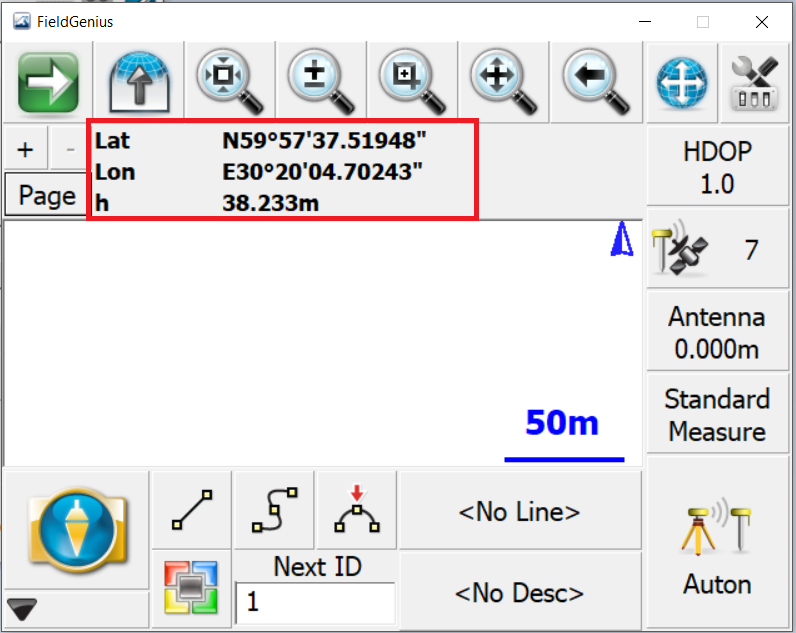
- If the connection is successful, the position will be displayed with a number of satellites and PDOP
Configure FieldGenius to receive RTK corrections from a NTRIP caster#
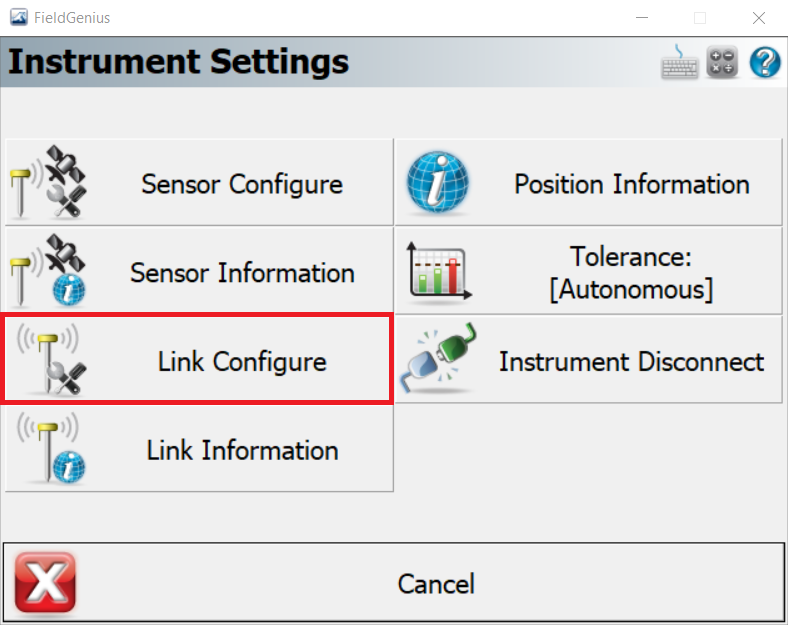
- Go to Instrument Settings

- Choose Link Configure
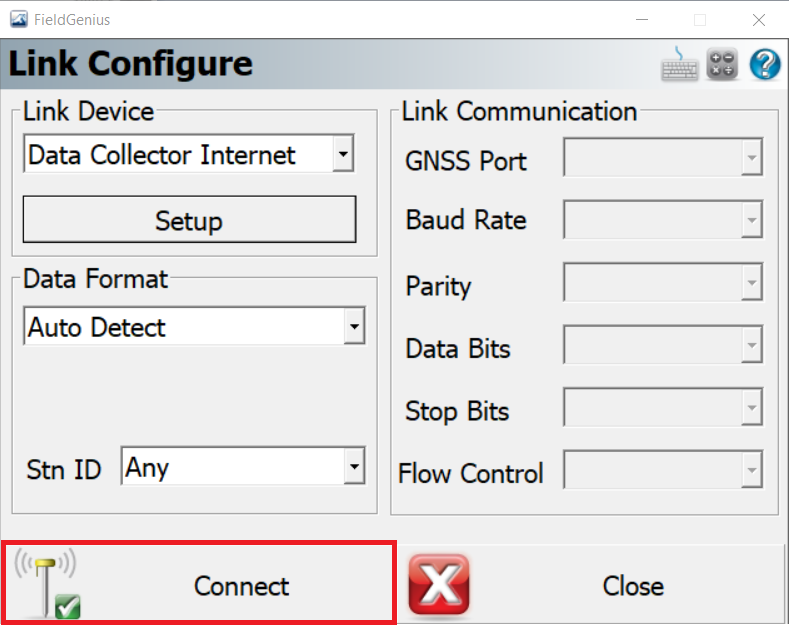
- Pick Data Collector Internet in Link Device and click Setup
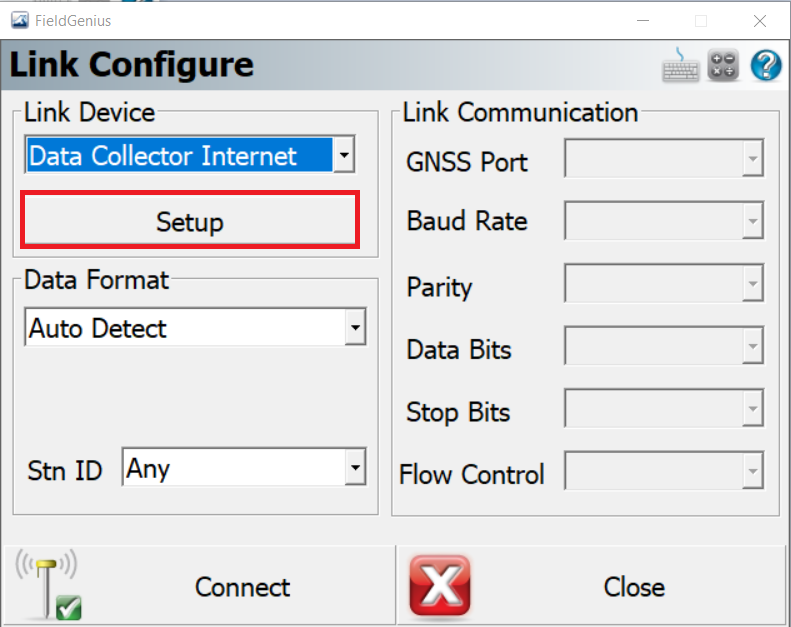
- In the dialog window click Press to Modify
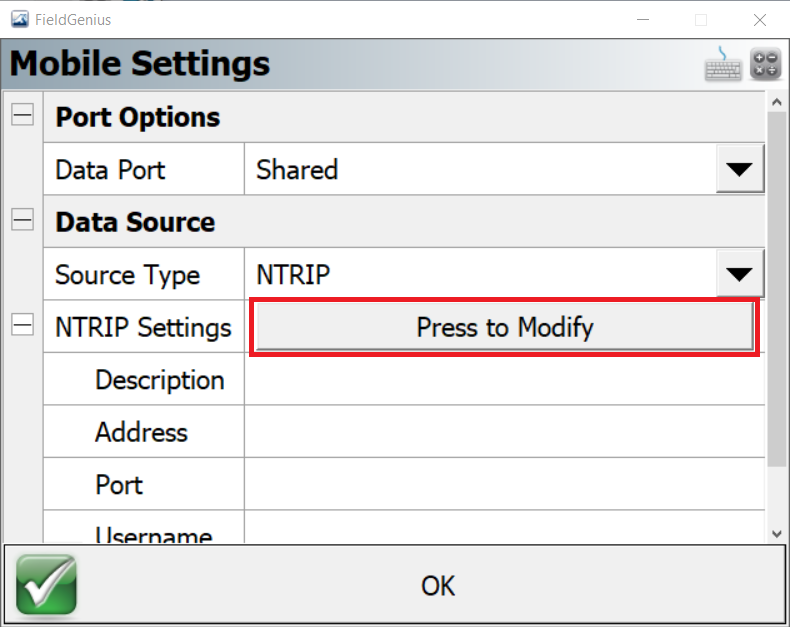
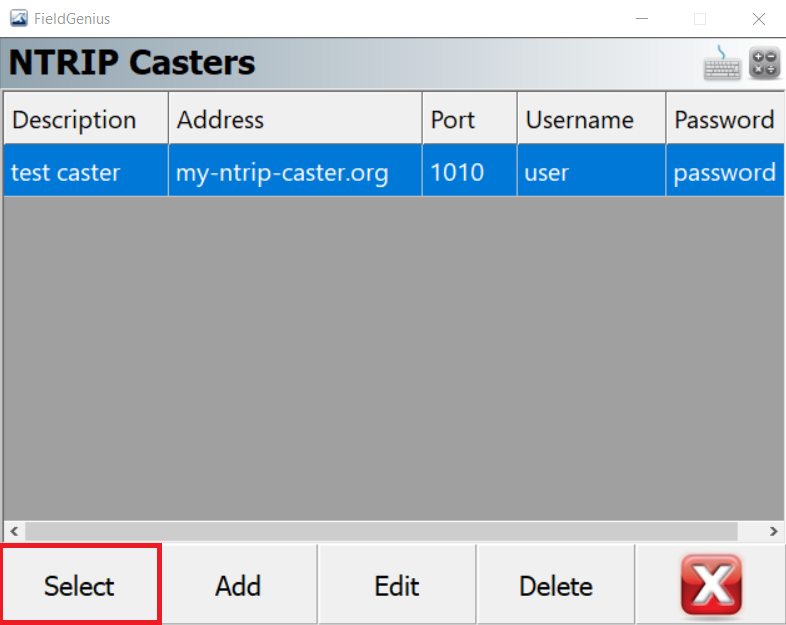
- Click Add in NTRIP Casters dialog and enter NTRIP caster details. Press OK

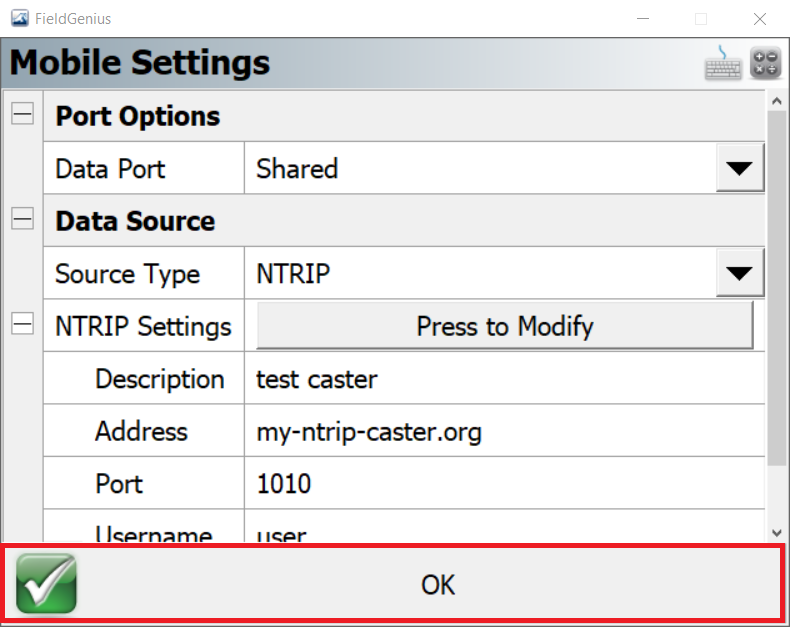
- Select the created caster
- Pick OK to finish the setup
- In the Link Configure dialog pick Connect
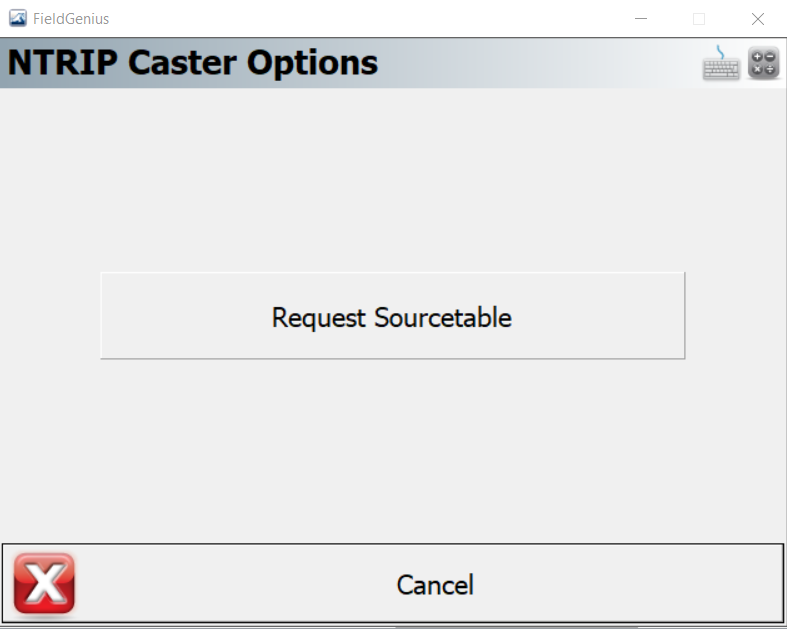
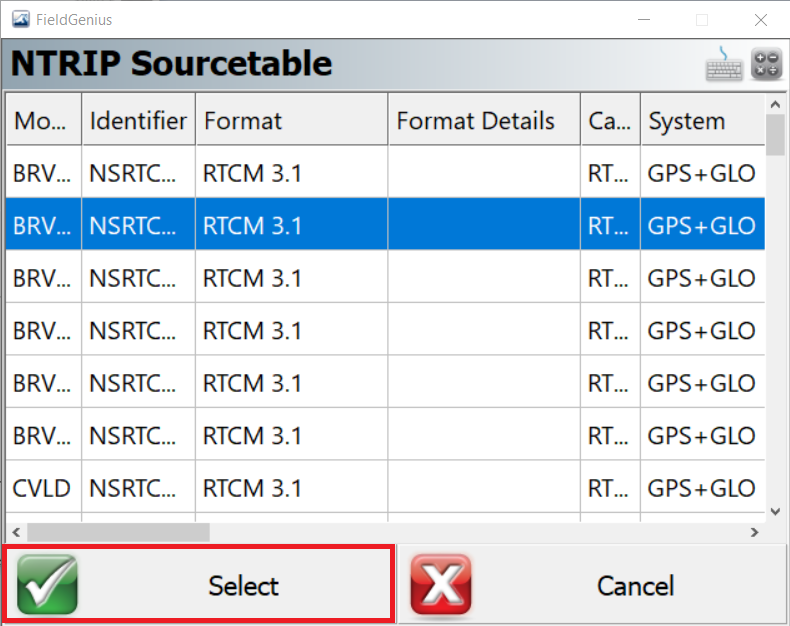
- Once connected to the Internet, request the sourcetable and choose a mountpoint
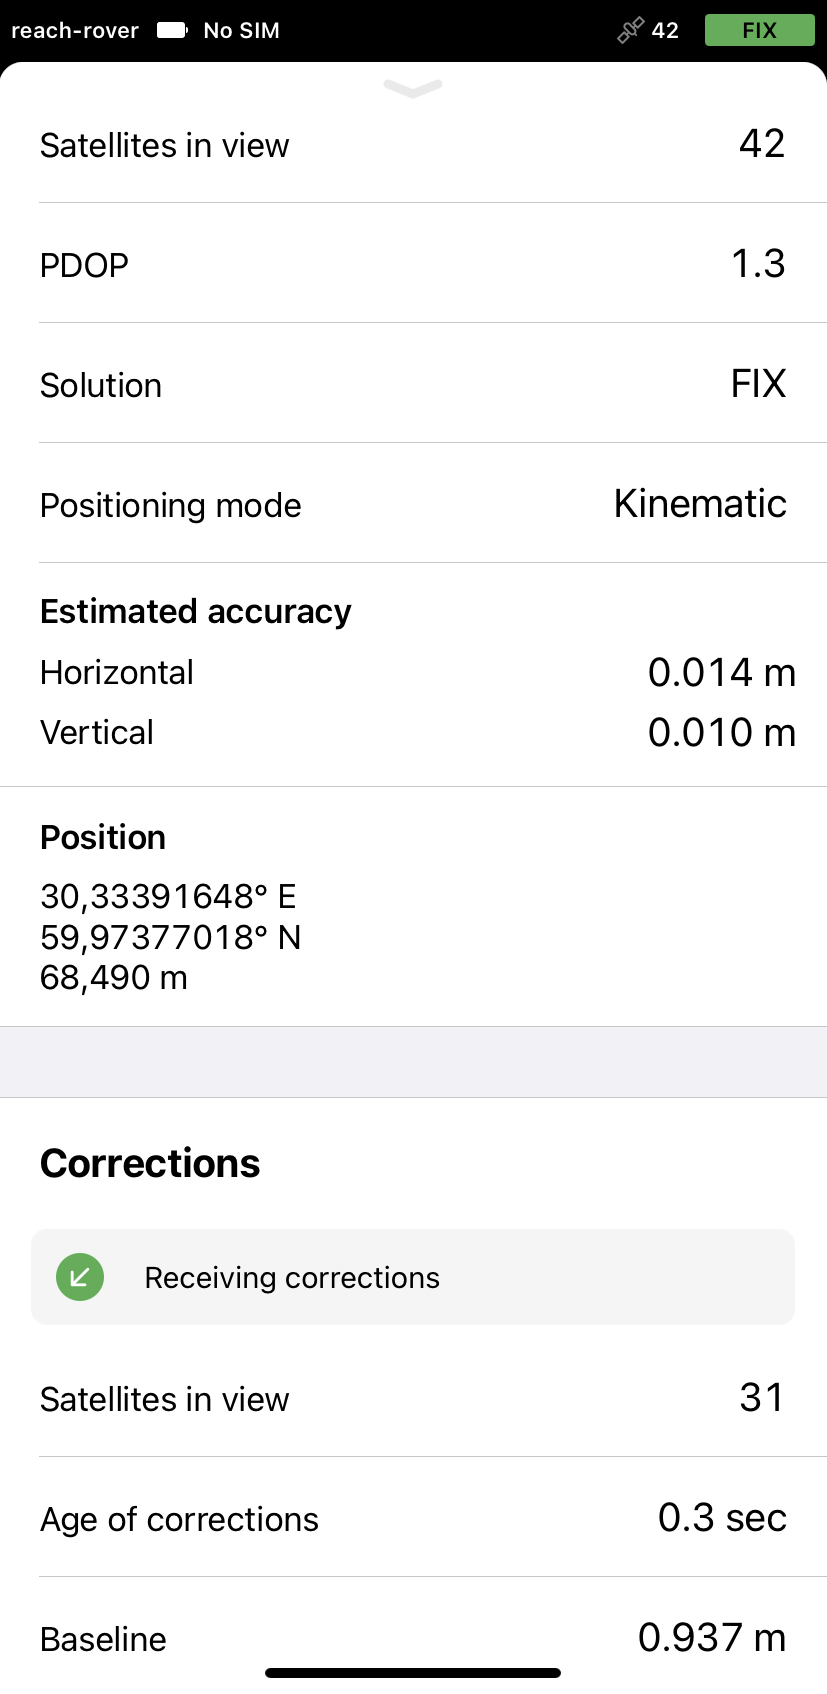
- In a moment, you will see the solution status in FieldGenius interface
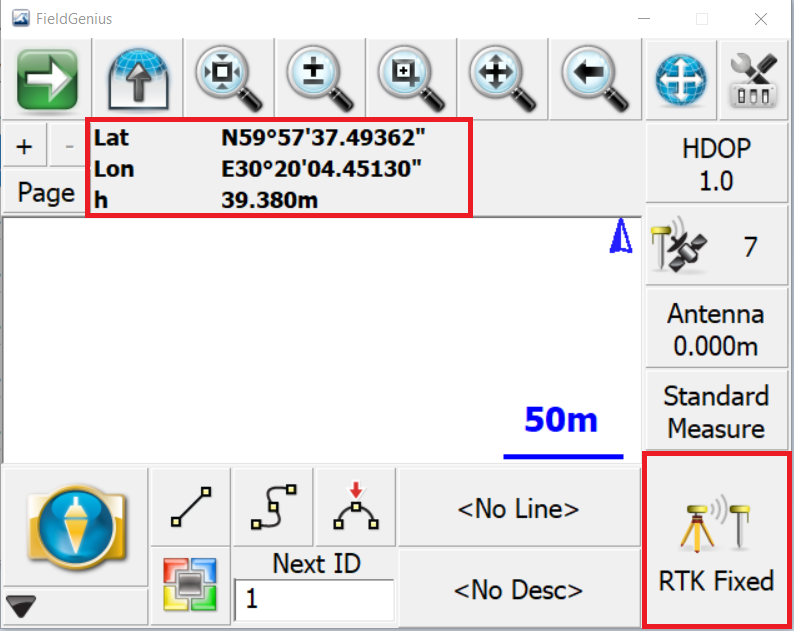
- You can also go to ReachView 3 to check satellites and solution status